
Last updated October 16, 2026
 Wrought iron
 Wood & steel frame
 Farm & ranch
 Sliding driveway gates
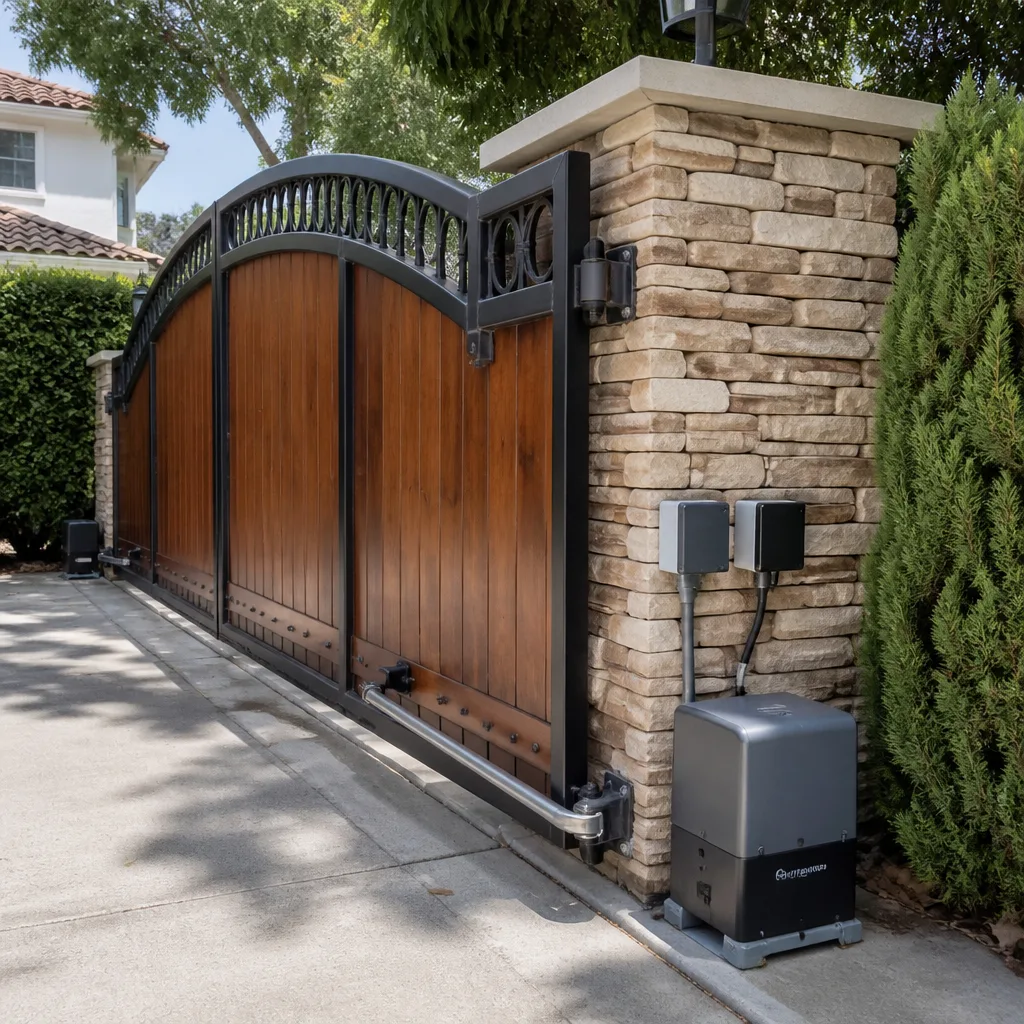 LiftMaster operators
Free on-site gate assessment - hinges, posts, and your LiftMaster or Nice gate operator checked before anything is quoted
The assessment is free and the quote is the invoice.
Get your free estimateDIY vs Professional Gate Repair: The Los Angeles Homeowner’s Decision Guide
Adjusting the close-force sensitivity on an automatic gate opener sounds simple. It’s also the setting most directly tied to child entrapment injury, and California’s UL 325 standards exist specifically because homeowners were getting it wrong. The DIY-vs-pro conversation around gate repair in Los Angeles usually ends with some version of “it depends on your skill level,” which is not an answer. It’s a shrug. This guide replaces the shrug with a decision matrix: specific repairs mapped to specific categories, so you know exactly which jobs you can safely handle this weekend and which ones should never be touched by anyone without a license, liability insurance, and a torque wrench. We’re a gate repair company in Los Angeles, and we’ve seen the $200 fix that became a $900 one because a homeowner guessed wrong about a capacitor. We’d rather you not repeat that.
Styles & brands we work with
Quick Answer
DIY gate repair in Los Angeles is appropriate for about 15% of common issues: remote batteries, keypad code resets, removing debris from the track, and loose cosmetic hardware. Everything involving the opener motor, electrical wiring, spring tension, UL 325 entrapment sensors, or any adjustment of force/close settings is a professional job, not because of skill level but because of safety regulation and the cost of recovery when a self-repair damages the control board. If the gate is heavy, motorized, or wired into your electrical panel, call a pro and get a written price before work starts.
Table of Contents
- The Three-Column Decision Matrix: DIY-Safe, DIY-Possible, and Professional-Only
- Why UL 325 Makes Some Adjustments Illegal for Homeowners in California
- The Real Cost of a Failed DIY: Five LA Recovery Estimates
- Parts Sourcing Reality Check: Which Brands Sell to Homeowners vs Dealers Only
- How to Run a Legit DIY Diagnostic (That Actually Saves You Money)
- Brand-Specific DIY Notes: LiftMaster, FAAC, BFT, and Linear
- Common Mistakes to Avoid
- When to Call a Professional
- Frequently Asked Questions
- The Bottom Line
The Three-Column Decision Matrix: DIY-Safe, DIY-Possible, and Professional-Only
The most useful way to think about gate repair is not “how skilled am I” but “what category does this repair fall into.” We’ve organized the most common Los Angeles gate issues into three columns. If a repair is in the first column, go for it. If it’s in the third, close the panel and pick up the phone. The middle column is the gray zone where you need specific prerequisites, not general confidence.
Column 1: Always DIY-Safe
These repairs involve no electricity, no spring tension, no motorized components, and no safety sensor recalibration. They are mechanical and cosmetic. You cannot hurt yourself or the gate by doing these yourself, and a mistake costs you a trip to the hardware store, not a control board replacement.
- Replacing a remote battery. If the gate opens from the keypad but not the remote, the battery is dead. A CR2032 or LR44 costs $2 to $6 at any drugstore in Los Angeles. Pry open the remote case with a flathead screwdriver, swap the battery, test it. Done.
- Resetting a keypad code. If your keypad stopped accepting your code, it may have reverted to factory default or the wiring may be loose behind the faceplate. Check the wiring terminals first, then reprogram according to the printed instructions on the inside of the keypad cover. This takes ten minutes and involves no risk.
- Clearing debris from the track. Sliding gates in Los Angeles collect eucalyptus leaves, gravel dust, and construction debris. If your gate is moving but slowing down or stuttering, sweep the track and check for pebbles lodged in the roller path. A leaf blower and a stiff brush handle 80% of “my gate is broken” calls that turn out to be a dirty track.
- Tightening loose cosmetic hardware. Gate hinges, handle screws, and decorative caps vibrate loose over time. A socket set and five minutes is all this takes. If the hinge itself is cracked or the post is leaning, that moves to Column 3.
Column 2: DIY-Possible With Specific Prerequisites
These repairs are doable for a homeowner who has done the homework and owns the right tools. They require that you understand the system you’re working on, not just that you’re “handy.” In our experience, the homeowners who succeed in this column are the ones who download the opener manual and read the wiring diagram before touching anything.
- Replacing a photocell sensor (photo eye). The photo eye is the small sensor near the bottom of the gate that detects obstructions. If yours is cracked or water-damaged, the gate will refuse to close. Replacing it requires matching the voltage and alignment configuration to your opener model. You’ll need a multimeter, a screwdriver, and the patience to align the sensor so the gate recognizes the beam. This is a one-hour job for someone who reads instructions carefully.
- Replacing a keypad that has power but won’t communicate. If the keypad lights up but the gate doesn’t respond, the issue may be a failed communication wire or a circuit board inside the keypad. A new keypad costs $40 to $120 depending on brand. The prerequisite here is knowing how to match wire colors to terminals and weatherproof the connection with silicone sealant.
- Lubricating chain-drive opener rails. Chain-drive openers need periodic lubrication with white lithium grease. This is DIY-possible if you’re comfortable accessing the rail inside the opener housing and you don’t over-apply. Too much grease attracts dirt and accelerates wear. A thin, even coat is the goal.
Column 3: Professional-Only, Always
These repairs involve mains voltage, high spring tension, motor control systems, or UL 325 safety devices. The decision to make them professional-only is not our opinion as a gate company. It’s the result of California’s adoption of UL 325 entrapment protection standards, which set legal and technical requirements for how force and sensitivity settings must be calibrated and tested. If you get these wrong, the failure mode is not “the gate stops working.” The failure mode is “the gate crushes a child or a pet and you are liable.”
- Any adjustment to open/close force or sensitivity settings. This is the one we opened this guide with. Close-force sensitivity controls how much resistance the gate encounters before it reverses. Set it too high, and the gate will not stop for an obstruction. In Los Angeles, UL 325 requires that these settings be tested with a pressure gauge after installation or adjustment. Homeowners do not have the gauge. Professionals do.
- Any repair that involves mains voltage. If the repair requires opening a junction box, touching a capacitor, or working on the incoming 120V or 240V line, that’s an electrician-and-gate-tech job. Capacitors store charge even after power is off. One wrong move on a charged capacitor is a hospital visit.
- Gate spring replacement or tension adjustment. Gates, like garage doors, use springs to offset weight. A gate spring under load carries hundreds of pounds of tension. When one fails or loses tension, the gate sags, and realigning the gate without properly releasing the spring is how people lose fingers and worse. A spring-loaded gate can kill. Do not attempt this.
- Any replacement of the main control board. The control board is the brain of the opener. Replacing it requires understanding the system’s voltage zones, relay logic, and limit switch wiring. One reversed wire can fry a $300 board instantly. In our experience as a gate opener repair in Los Angeles company, control board replacement is the job homeowners call us about after they’ve already ordered the wrong part and wired it backwards. The recovery is always more expensive than the original call would have been.
- Repairs on gates regulated by UL 325 entrapment sensors. This covers the photo eye wiring, the safety edge sensor, and the audible alarm. These are not convenience features. They are legally required safety systems on every automatic gate installed in California since 2001. A professional must verify they function after any other repair on the gate.
If you’re in Los Angeles and you’re not sure which column your repair falls into, we’ll tell you over the phone. Call the Calder Gate Repair Los Angeles home line at (213) 322-1415 and describe what you’re seeing. A live person answers, and we’re happy to help you decide whether it’s worth our dispatch or a trip to the hardware store.
Why UL 325 Makes Some Adjustments Illegal for Homeowners in California
UL 325 is the technical standard the state of California has adopted into law for automatic gate and door systems. It exists for one reason: entrapment. Before UL 325 became mandatory, automatic gates killed people, including children, because the close-force setting was configured to push through obstructions instead of reversing. The standard changed how automatic gates must sense resistance, how sensors must be connected, and how the system must respond to a fault.
Here’s what this means for the DIY question in Los Angeles:
- Force settings must be tested with a calibrated gauge after any adjustment. UL 325 specifies maximum closing force in pounds. No less than 40 pounds of force may be applied to an obstruction before the gate must reverse. A human hand cannot reliably judge 40 pounds. Calibrated gauges cost $300 to $800, which is why professionals carry them and homeowners don’t.
- Entrapment protection devices must be wired directly to the control board and monitored. Your gate’s photo eye isn’t optional. It’s a UL 325 mandated device. If a photo eye is disconnected or bypassed, the gate is non-compliant with California law. A homeowner who disconnects a sensor and then has an entrapment incident is facing personal liability that homeowners insurance may not cover.
- Warning signage is mandatory on every automatic gate in California. This is the part most Angelenos don’t know. After any professional repair or installation, the technician is required to confirm that two warning signs are posted: one on each side of the gate. If your gate doesn’t have them, it’s not compliant. A professional will replace them as part of the job.
- Reduced clearances and secondary entrapment zones are specific to your property. UL 325 defines zones around the gate’s hinge and latch points where fingers and hands can be caught. Retrofitting an older gate to include pinch guards and gap covers is often required when an opener is replaced. A homeowner working on an opener replacement will not see these gaps. An experienced gate tech looks for them automatically.
The practical takeaway: if the repair requires changing how the gate behaves (how hard it pushes, how fast it moves, when it reverses), it is a UL 325 regulated adjustment. In California, that means professional. The call to electric gate repair in Los Angeles is not about convenience. It’s about staying on the right side of the law and the right side of the safety envelope.
The Real Cost of a Failed DIY: Five LA Recovery Estimates
Here’s the part where “I’ll just watch a YouTube video” collides with reality. We track recovery jobs at Calder Gate Repair Los Angeles. These are calls where a homeowner attempted a repair, it went sideways, and now the gate is in worse shape than when they started. These five scenarios are the most common, and the numbers reflect the Los Angeles market for parts and labor.
| DIY Attempt | What Went Wrong | Original Fix Would Have Cost | Recovery Cost After DIY Damage |
|---|---|---|---|
| Replaced the control board with a “compatible” generic part | Wrong voltage; fried the new board and damaged the transformer | $220 – $340 | $580 – $900 |
| Adjusted close-force setting to “fix” a reversing gate | Over-force now crushes the obstruction; UL 325 non-compliant | $180 – $280 for sensor repair | $400 – $650 for replacement sensors and recalibration |
| Replaced the gate spring with a universal part from a hardware store | Wrong spring rate; gate now sags and the opener motor is straining | $250 – $400 | $600 – $1,100 including motor damage |
| Bypassed the photo eye that was giving an error code | Gate now operates without entrapment protection; property is non-compliant | $145 – $200 | $275 – $425 to reconnect and reinspect |
| Replaced the keypad with a different brand on a LiftMaster system | Protocol mismatch; burned out the accessory port on the control board | $120 – $180 | $350 – $550 |
The math is not subtle. When a DIY gate repair fails, the recovery cost is consistently two to three times the cost of the original professional fix. And that’s before we factor in the time you spent on the failed attempt, the parts you bought and can’t return, and the days the gate sat either stuck open (no security) or stuck closed (no vehicle access).
Most gate repair in Los Angeles runs $150 to $400 for a typical service call, before any major parts. If you’re looking at a $230 sensor replacement and thinking you can save $150 by doing it yourself, the downside scenario is a $640 recovery invoice. That’s a bad hedge by any calculation.
Parts Sourcing Reality Check: Which Brands Sell to Homeowners vs Dealers Only
Here’s something no one tells you in the DIY forums: not all gate opener brands want you to repair your own system. Some brands sell replacement parts through public online channels. Others restrict distribution to authorized dealers and will void the opener warranty if an unapproved repair is performed.
Understanding this before you order parts can save you from buying a board that arrives without programming support, a wiring harness, or any warranty of its own.
Brands That Sell Parts Directly to Consumers
- Mighty Mule and Ghost Controls. These brands target the homeowner market directly. Parts are widely available on Amazon, Home Depot, and manufacturer websites. Wiring diagrams are published. Support lines are staffed for consumer calls. If you own one of these, the DIY column is wider than with any other brand.
- LiftMaster (residential side). LiftMaster sells replacement remotes, keypads, safety sensors, and some boards through online retail channels. However, certain commercial-grade LiftMaster parts are dealer-restricted, and the brand is explicit that warranty coverage applies to professional installation of opener units. Gate opener repair in Los Angeles for LiftMaster systems often involves parts the homeowner cannot order at all.
Brands That Restrict Parts to Authorized Dealers
- FAAC. FAAC is an Italian brand used heavily in Los Angeles for slide gates and hydraulic operators. Their parts distribution runs through authorized installers. Homeowners who buy FAAC parts on Amazon are often getting gray-market imports with no US warranty and no technical support. When a FAAC system needs a board, the homeowner’s realistic options are a dealer service call or a gamble.
- BFT. BFT is another Italian brand with a strong LA presence. Same story. Dealer-restricted parts network. Programming is done through proprietary software that homeowners cannot legally obtain. BFT and FAAC are both common in hills and canyon neighborhoods of Los Angeles where slide gates are everywhere.
- Linear and Viking (commercial-heavy lines). Linear and Viking both make residential openers, but their parts stock is geared toward professional installers. The big-box stores and Amazon listings that carry “Linear replacement” parts are typically old stock or third-party equivalents with no warranty support.
If your opener is a BFT or FAAC unit and the issue is electronic, there really is no responsible DIY path. Call a tech who can order the correct part and has the programming tools to commission it. The issue is not your intelligence. It’s the locked room of parts availability.
How to Run a Legit DIY Diagnostic (That Actually Saves You Money)
This is where DIY and professional work intersect in a smart way. We want you to do a diagnostic before you call us, because it makes our visit faster and it reduces your billable diagnostic time. A good diagnostic is not a repair. It’s a structured observation that tells a technician exactly where to start. In our experience, a homeowner who runs this diagnostic before calling gets to the right answer in one visit instead of two.
Step 1: Note the Error Code
Most opener control boards have an LED that blinks in a pattern. Open the housing and watch the LED for 30 seconds. Count the blinks. Write down the sequence. On a LiftMaster, three blinks means something different than five. On a FAAC or BFT, the error codes are often printed on the inside of the housing cover. Photograph the board with your phone before you close anything.
Step 2: Run the Manual Release Test
Every automatic gate has a manual release mechanism. On most openers, it’s a red handle or a hex bolt on the side of the operator arm. Pull or turn it to disengage the motor from the gate. Now push the gate by hand. This tells you in thirty seconds whether the problem is the gate (heavy, off-track, hinge-bound) or the opener (motor, board, wiring). If the gate pushes freely, the opener system is the problem. If the gate is stiff or scraping, the issue is mechanical. That single observation can save a technician an entire diagnostic hour.
Step 3: Check All Fuses and Breakers
Every gate opener has at least one fuse. Many have two: one for the control board and one for the motor circuit. Locate the fuse holder, pull the fuse, and look at the filament. If it’s blackened or broken, that’s the issue. Replacing an automotive-style fuse with an identical amperage rating is a legitimate DIY repair, and it’s the exception to the “professional-only” rule for anything electronic. If the new fuse blows immediately, stop. There’s a short somewhere, and that’s a professional diagnosis.
Step 4: Photograph the Wiring Harness Before Disconnecting Anything
If your instinct is to unplug and reconnect the wiring connectors to “reset” the system, photograph each connection from multiple angles first. The wiring harness on a gate opener control board is not color-coded the way a stereo harness is. Terminals are labeled with abbreviations. Getting one wire wrong during reassembly is how control boards die. If you can’t confidently label each wire by its printed terminal designation, don’t touch the harness.
Step 5: Record the Behavior on Video
Take a 15-second video of the gate when it’s failing. Show the gate position, the opener arm, and the control board LED if visible. Send it to the tech when you book the call. We watch these videos before we dispatch, and they often change the diagnosis before anyone gets in the truck.
Doing these five steps puts you ahead of 90% of the service calls we take in Los Angeles. You’ll have specific information instead of “it just stopped working,” and that specificity is what keeps the bill down. Call (213) 322-1415 after you run through the list. We’ll ask you what the LED did and how the gate pushed by hand, and you’ll know the answers.
Brand-Specific DIY Notes: LiftMaster, FAAC, BFT, and Linear
Different opener brands have different tolerances for homeowner involvement. Here’s what we see across four of the most common systems installed in Los Angeles homes.
LiftMaster
LiftMaster is the most common residential opener brand in Los Angeles, and it’s the most documented. The manual is in the box. Error codes are published. YouTube is full of LiftMaster walkthroughs. For a homeowner who wants to change a photo eye or a keypad, LiftMaster is doable if you match the part number exactly. The danger zone with LiftMaster is the force adjustment dial and the travel limit screws. Both are accessible from the outside of the unit, which makes them tempting to fiddle with. Don’t. Those adjustments affect UL 325 compliance and once they’re out of spec, the gate is unsafe until a professional recalibrates it.
FAAC
FAAC systems are the workhorses of Los Angeles hillside properties. Hydraulic operators, slow and quiet, built to run forever. The problem for DIY is that FAAC parts are dealer-restricted and the programming interface is proprietary. If your FAAC gate is making noise or moving slowly, check the hydraulic fluid level and the manual release first, both DIY-safe. Everything else is a dealer call. We stock FAAC parts and have the programming tool for FAAC boards, which most homeowners cannot obtain.
BFT
BFT installs are common in multi-family and condo properties across Los Angeles, especially in the Valley. Like FAAC, the parts channel is locked, and the commissioning process requires proprietary software. A BFT keypad replacement is the only reasonably DIY item, and even that requires obtaining the exact model match. When a BFT unit starts throwing error codes, it’s time for a professional with the cable and the software to read them.
Linear
Linear makes both residential and commercial gate operators, and the residential side is the most DIY-accessible of the dealer-leaning brands. Remotes and keypads are widely available, and the older Linear boards are simple enough that a homeowner can replace a blown capacitor with a soldering iron if they know what they’re doing. That said, Linear’s newer smart-enabled boards are dealer-programmed. If your Linear opener is more than ten years old, parts are getting scarce in Los Angeles, and you may be looking at a full opener replacement rather than a repair.
Common Mistakes to Avoid
- Adjusting the force dial before checking anything else. The force dial is the most tempting screw on the outside of the opener. It’s also the fastest way to create a UL 325 violation. In Los Angeles, a gate that reverses too easily is usually a sensor or track issue, not a force setting. The dial is the last thing to touch.
- Buying a “universal” control board online. There is no universal gate opener control board. There are boards that work with some systems and destroy others. We pull dead boards out of Los Angeles gates every month that were sold as “compatible.” The customer lost the cost of the board plus the recovery labor.
- Using the wrong grease on the opener rail. Silicone spray and white lithium grease are not interchangeable. Silicone works on plastic-to-metal contact. White lithium works on metal-to-metal. Using silicone on a chain rail means the chain runs dry and wears the sprocket. Using white lithium on a plastic carriage means it attracts grit and jams.
- Resetting the opener by cutting power and hoping. Flip the breaker, wait ten seconds, turn it back on. If the gate still doesn’t work, the breaker flip did nothing. But some homeowners repeat this cycle ten times, and some openers store error codes that get erased on power-off, which makes the professional diagnosis harder. Once is fine. If it doesn’t work after one reset, leave the power on and call.
- Replacing a battery in the keypad without disconnecting the power. A wired keypad carries low voltage, but if you short the terminals while replacing the battery inside the keypad housing, you can blow the accessory fuse on the control board. Disconnect power at the breaker before opening a wired keypad.
- Watching a video from a different climate and following along. Gate repair videos from Arizona or Texas often skip the rust, salt air, and humidity issues we deal with in Los Angeles. Coastal neighborhoods like Playa del Rey and Pacific Palisades have corrosion patterns that inland cities never see. The humidity in Los Angeles also affects how sensors perform. Match your video to coastal or inland conditions depending on where you live.
When to Call a Professional
You need a professional gate technician in Los Angeles when any of these are true: the repair involves the opener motor, the control board, the spring, the wiring from the panel, or any UL 325 safety device. You also need one when you’ve run the diagnostic above and the manual release test tells you the gate itself is the problem. Hinge-bound gates, sagging leaves, and off-track rollers are structural, not electrical. At that point, the tools and the judgment required are professional-grade, and the cost of getting it wrong is a broken gate and a broken opener. Calder Gate Repair Los Angeles offers free estimates in Los Angeles. Call (213) 322-1415, describe what you found in your diagnostic, and we’ll give you a written price before anything starts.
Frequently Asked Questions
Most gate repairs in Los Angeles run $150 to $400 in labor for a standard service call, with parts added on top. Simple repairs like a keypad replacement or a photo eye swap run lower. Control board replacement, spring work, or motor replacement can push the total to $600 to $1,200 depending on the brand and the part cost. Calder Gate Repair writes the full price on paper before any work begins, so the number you agree to is the number on the invoice. Call (213) 322-1415 for an exact quote. Estimates are always free.
Yes, in most cases we can dispatch a technician the same day for urgent repairs in Los Angeles. Safety issues, stuck-open gates, and entrapment sensor failures are prioritized. We show up with the parts stocked for the most common brands. For repairs that require a special-order part from FAAC, BFT, or Linear, we’ll give you a clear timeline and a written quote before ordering anything. Call (213) 322-1415 for same-day scheduling.
A gate opener replacement includes removing the old operator, installing the new motor and arm, connecting it to the existing control system or installing a new board, wiring all UL 325 safety devices, programming remotes and keypads, and testing force and sensitivity settings with calibrated gauges until they pass. In Los Angeles, most replacements also include new warning signage and a final walkthrough of the system operation. We quote the complete job in writing before the first bolt comes out.
Yes. We run the low-voltage wiring from the opener to the keypad and safety sensors, and we handle the connection to the main power supply in compliance with California code. You do not need a separate electrician for a standard gate opener replacement in Los Angeles. If the job requires a new dedicated circuit from the main panel because of distance or load, we will tell you that during the estimate and include it in the written price.
We repair and service LiftMaster, FAAC, BFT, Linear, Viking, Ghost Controls, DoorKing, Elite, and Mighty Mule openers, which covers almost every system installed on residential properties across Los Angeles. Our techs are factory-familiar with the programming and parts for each brand. We don’t work from generic diagrams. If your opener is one of these brands, we stock the common parts and have the diagnostic tools on the truck.
This is a regular call for us. We assess what was changed, restore the system to a safe baseline, and then repair the original issue. The repair process is the same as any job: diagnostic, written quote, approval, repair, and a 365-Day Done Right Promise on the work. What we fix after a DIY attempt carries the same guarantee as any other repair we do. Call (213) 322-1415 and tell us what you attempted. We’ll work from there.
The Bottom Line
The DIY vs professional gate repair decision in Los Angeles is not a personality test. For more guides & resources on keeping your gate safe and functional, visit our blog. It’s a sorting exercise. Fifteen percent of gate issues are safe for any homeowner to fix: remote batteries, keypad resets, track debris, loose hardware. Everything else falls into a category that requires either specific knowledge and tools or professional licensing, parts access, and calibrated testing equipment. The UL 325 standards exist because automatic gates have killed people when adjusted carelessly. If the repair touches force settings, safety sensors, springs, wiring, or the control board, it’s a professional job. When it is, call Calder Gate Repair Los Angeles at (213) 322-1415. We answer live, we quote in writing, and we guarantee the work for 365 days. The decision framework saves you money. The phone call starts with a real person. That’s the deal.
Written by Nico Alvarez, Owner at Calder Gate Repair Los Angeles, serving Los Angeles since 2009.
See the difference
 Before
 After
After Before
 After
After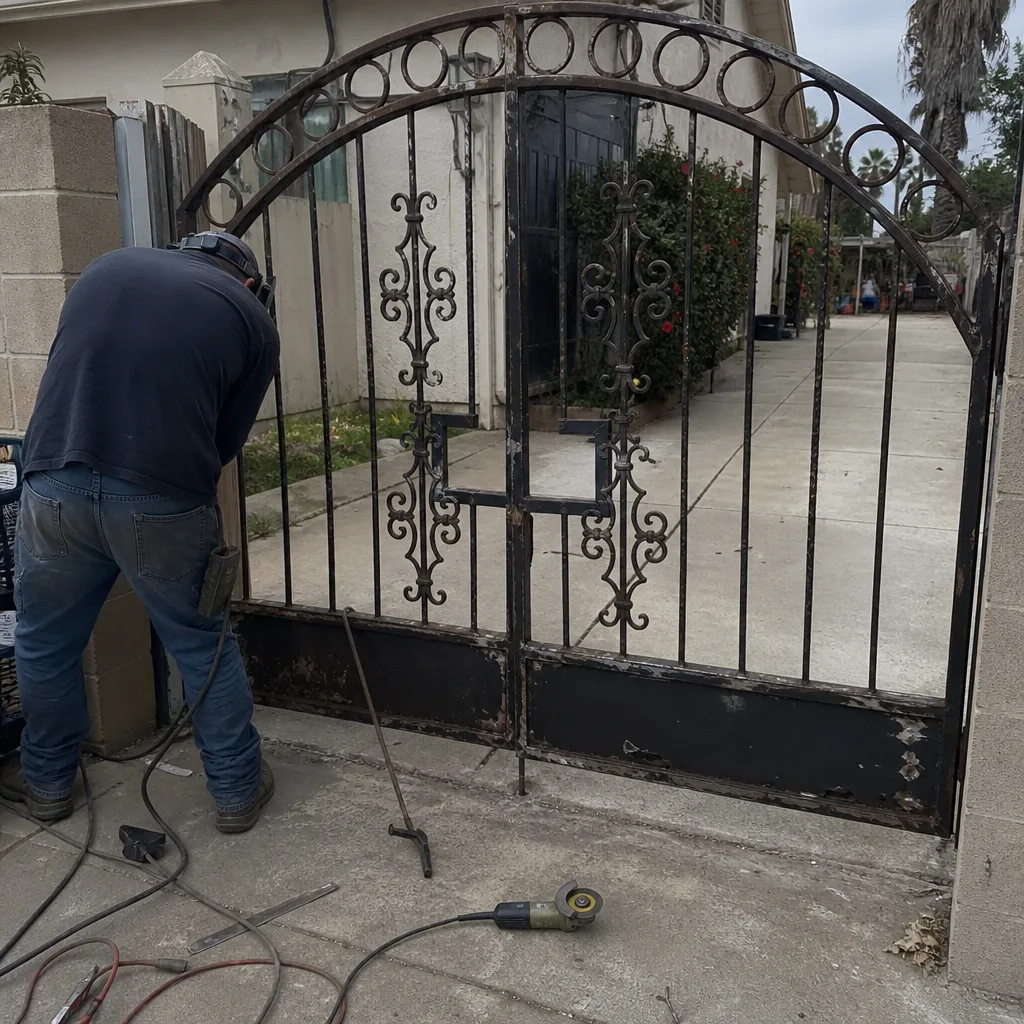 Before
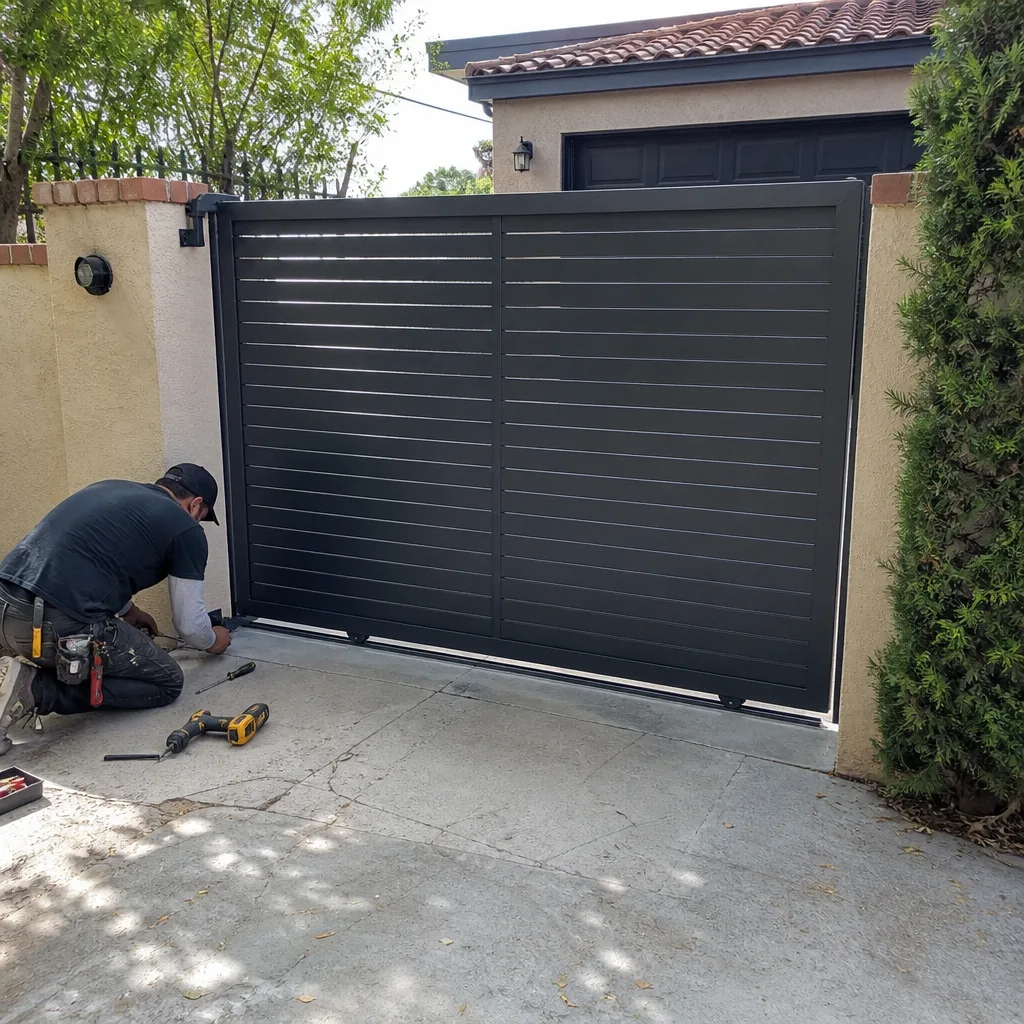 After
After