
Last updated October 16, 2026
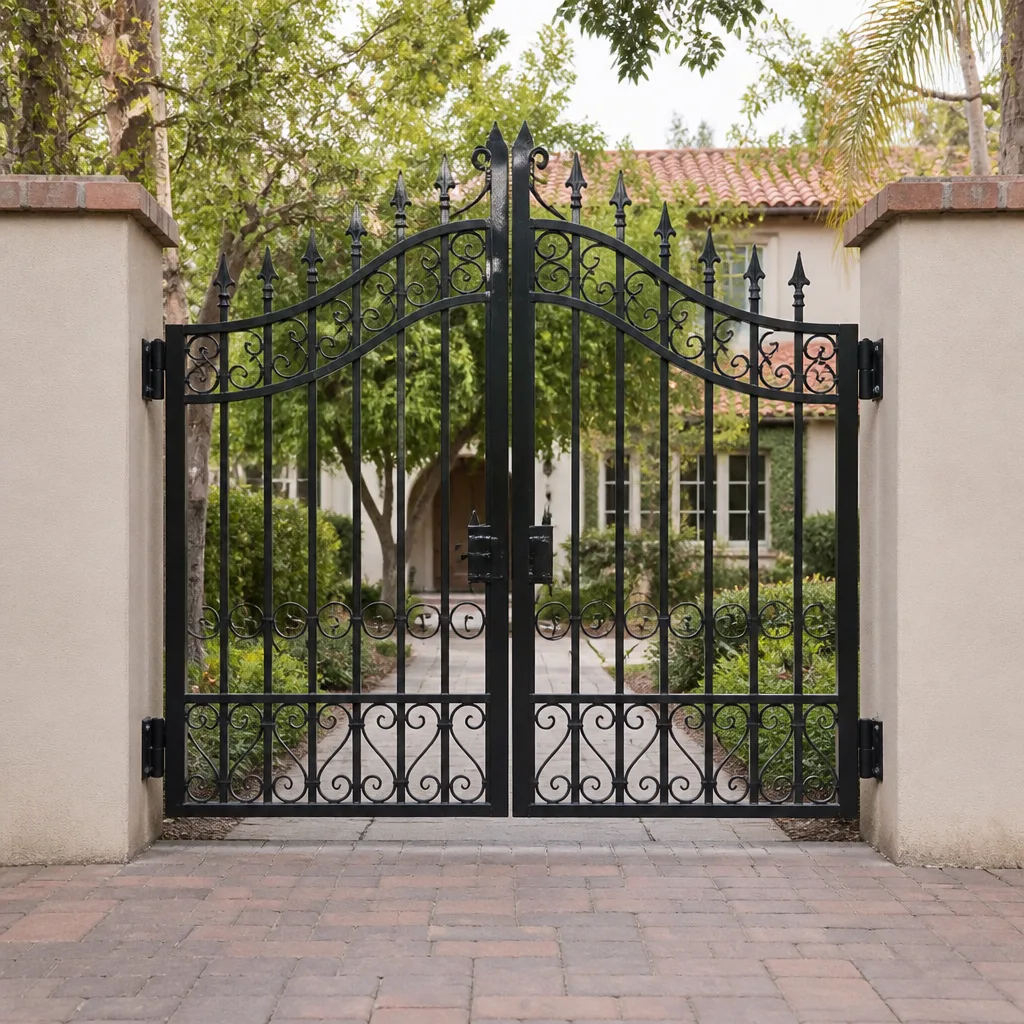 Wrought iron
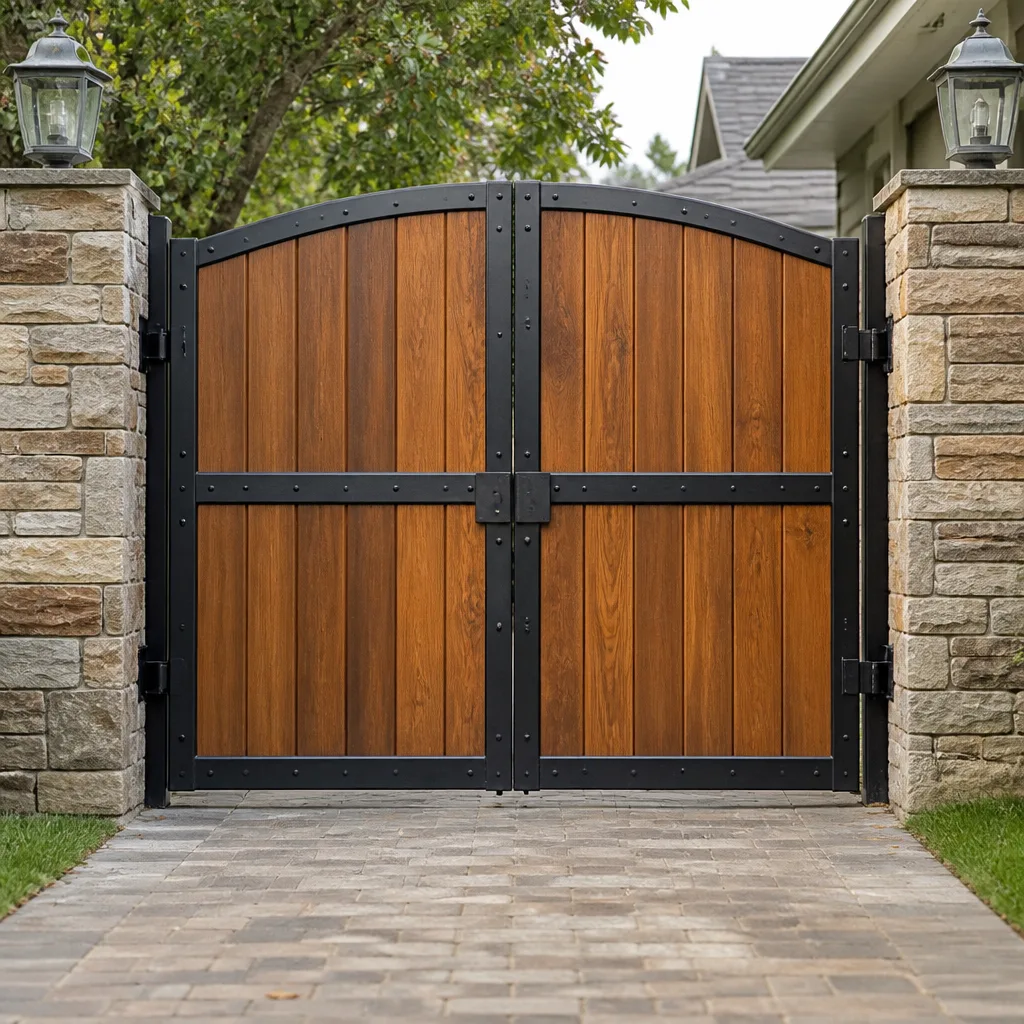 Wood & steel frame
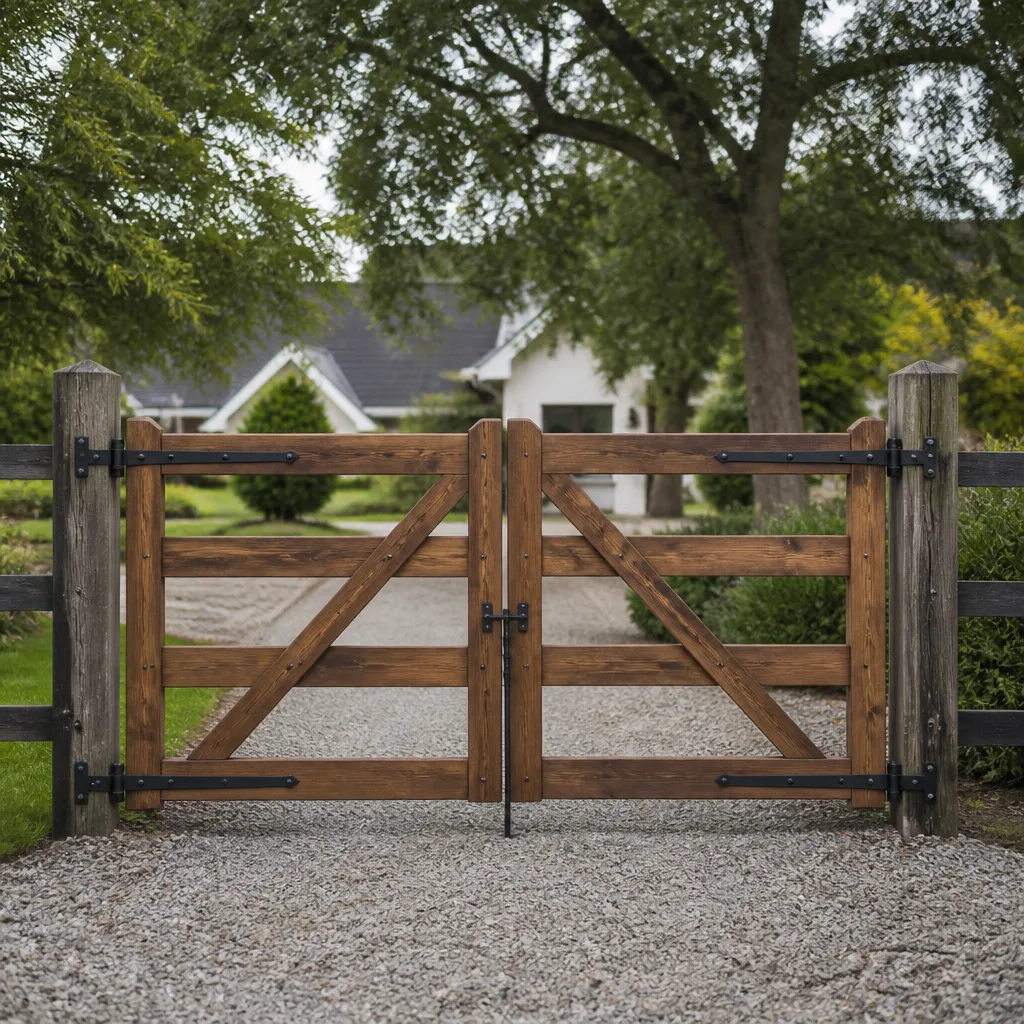 Farm & ranch
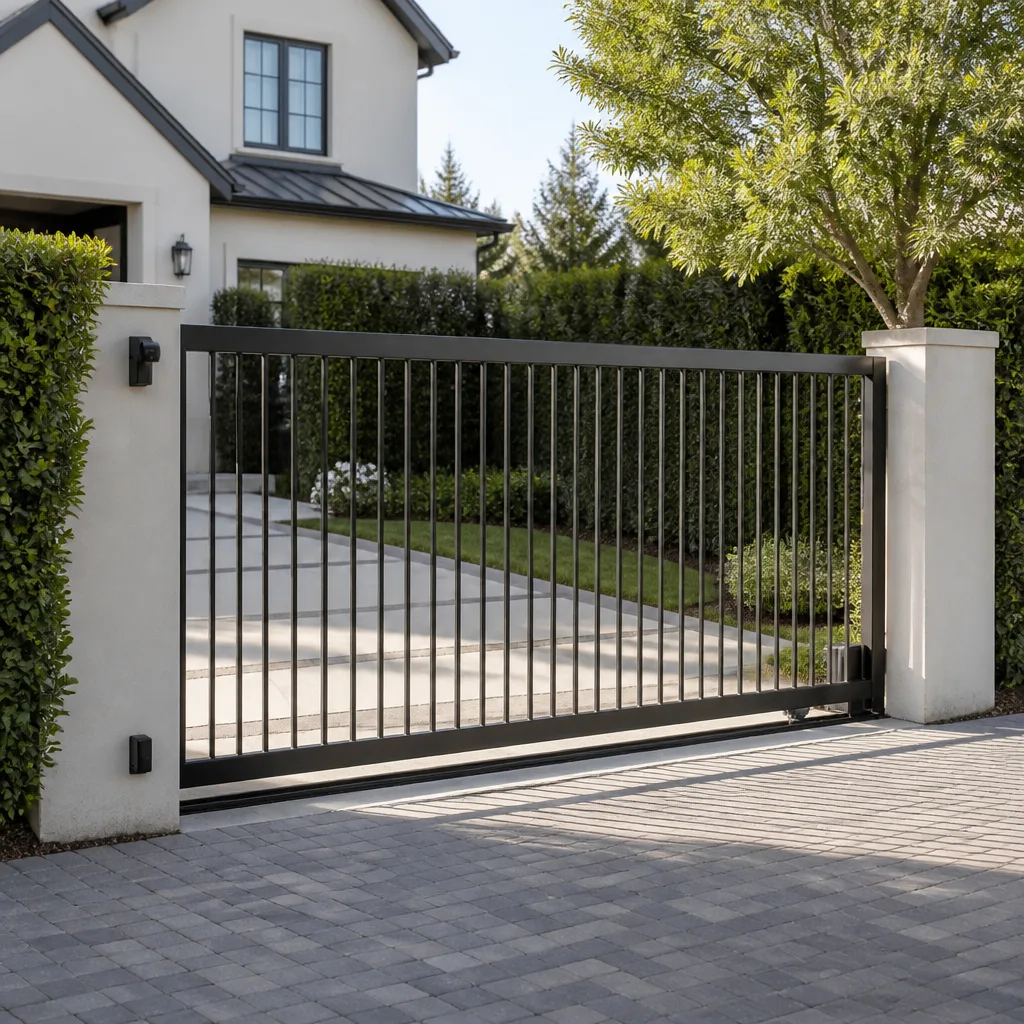 Sliding driveway gates
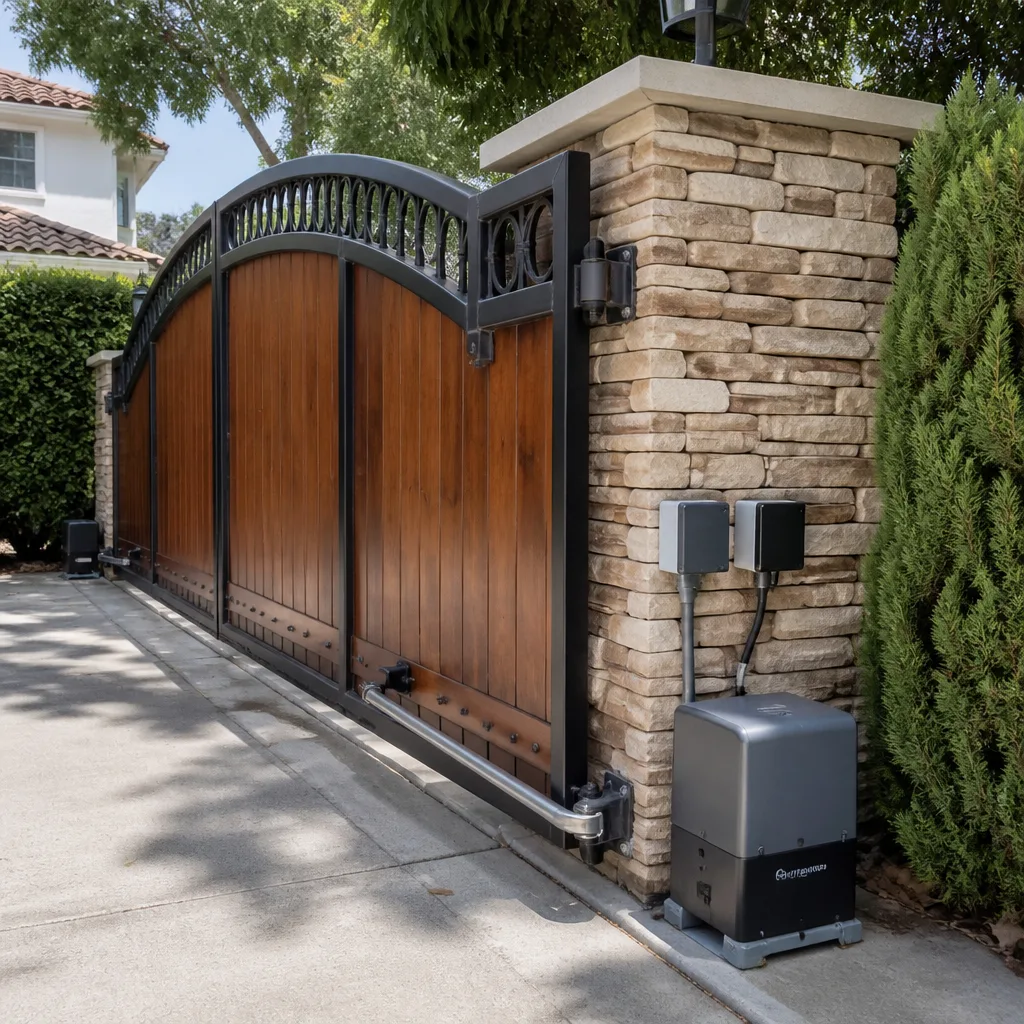 LiftMaster operators
Free on-site gate assessment - hinges, posts, and your LiftMaster or Nice gate operator checked before anything is quoted
The assessment is free and the quote is the invoice.
Get your free estimateGate Repair Maintenance Checklist for Los Angeles Homeowners
Eighty percent of emergency gate repair calls in Los Angeles trace back to one skipped maintenance step: lubricating the chain or belt drive. It takes four minutes, costs less than a coffee, and prevents the single most common failure we see across the city. This guide is not a generic, print-and-forget PDF. It is organized by the actual variables that cause LA gate failures: your microclimate, your soil, your HOA, and the specific opener bolted to your gate. Whether your gate faces salt air in Playa del Rey or 105-degree heat in Woodland Hills, what follows is a checklist you can actually use.
Styles & brands we work with
Quick Answer
A Los Angeles gate maintenance checklist should be organized by your specific zone: coastal properties need monthly rust and corrosion checks on hinges and opener internals; inland properties need heat-focused checks on capacitors, belts, and limit switches every 90 days; hillside properties need rail alignment and post-plumb checks quarterly due to soil movement. At minimum, lubricate the chain or belt drive every 60 days, test the safety reverse and photo-eye alignment monthly, and keep dated maintenance records for HOA and liability purposes.
Table of Contents
- The Zone-Based Checklist: Why a Brentwood Gate Ages Differently Than a Reseda Gate
- The 10-Minute Monthly Check Every LA Gate Owner Should Do
- Opener-Specific Maintenance: LiftMaster, FAAC, Viking, and the Rest
- How to Test Your Safety Reverse and Photo-Eye Alignment (With Pass/Fail Criteria)
- HOA Documentation: What to Keep and Why It Matters When Liability Is Disputed
- Signs Your ‘Maintenance Visit’ Was Actually a Parts Replacement in Disguise
- Common Mistakes to Avoid
- When to Call a Professional
- Frequently Asked Questions
- The Bottom Line
The Zone-Based Checklist: Why a Brentwood Gate Ages Differently Than a Reseda Gate
Los Angeles is not one climate. A gate two miles from the ocean in Brentwood lives in marine layer, salt air, and morning fog. A gate in Reseda gets 40 more days above 90 degrees per year and single-digit humidity for months at a stretch. A gate in Mount Washington sits on decomposing granite that shifts with every rain event. These conditions attack different components at different rates. A calendar-based checklist that tells every homeowner to “lubricate in spring” is meaningless when spring does not exist as a distinct season in Los Angeles.
Here is what actually matters by zone:
Coastal and Marine Layer Zones (Brentwood, Santa Monica, Playa del Rey, Pacific Palisades, Venice)
- Check every 30 days: Rust on hinge pins, gate frame welds, and the bottom rail where salt spray accumulates. Look for bubbling paint or orange streaking at bolt heads.
- Check opener internals every 60 days: Salt air corrodes circuit boards and terminal connections faster than heat alone. Look for white or green crust on wire terminals.
- Lubricate more often: The damp air does not mean less friction. On the contrary, salt-laden moisture creates a grinding paste on unsealed rollers and chains. Use a dry lithium spray, not a wet oil that attracts grit.
- Pay attention to the gate frame itself: Coastal properties with hollow steel gates are prone to internal rust you cannot see. Tap the bottom rail with a rubber mallet. A dull thud means internal corrosion has begun.
Inland Heat Zones (Reseda, Woodland Hills, Encino, Northridge, Sherman Oaks)
- Check every 90 days: Belt tension. Heat softens and stretches rubber drive belts. A belt with more than 1/2 inch of deflection when pressed at the midpoint needs adjustment.
- Pay attention to the capacitor: This is the cylindrical component inside your opener that provides the starting jolt. In sustained heat, capacitors fail at a higher rate. A gate that hums but does not move is the classic symptom.
- Watch the limit switch: This small sensor tells the gate when to stop at the open or closed position. Heat causes metal to expand, and a limit switch that was perfectly set in March can allow the gate to slam or stop short in August.
- Check plastic components: Gear housings and end caps on residential openers degrade faster in UV-heavy inland zones. Look for hairline cracks every time you service the gate.
Hillside and Earthquake-Prone Zones (Mount Washington, Silver Lake hills, Echo Park, Baldwin Hills, Studio City hillside streets)
- Check gate plumb every 90 days: A gate that is out of plumb by more than 1/4 inch across its full height puts strain on hinges and opener arms. Use a 4-foot level against the gate post and the gate edge.
- Check the rail or track for debris after any rain event: Hillside properties send silt, small rocks, and organic matter down onto gate tracks. A single pebble can cause a chain to jump a sprocket.
- Inspect post footings annually: Look for gaps between the concrete footing and the surrounding soil, especially after the winter rainy season. A gap wider than 1/2 inch means the post is moving, which will throw off the entire gate geometry.
- Test the safety reverse twice per month: On a sloped driveway, a gate that free-wheels or reverses too slowly can pick up dangerous speed before stopping. The reverse mechanism must trigger within two seconds of encountering resistance.
If you are not sure which zone applies to you, consider this: the gate on the west side of your house right now may be in different condition than the gate on the east side. Direct afternoon sun, shade from a mature oak, and reflected heat from a stucco wall all create microclimates within the same property. We have replaced openers on gates that were 40 feet apart with completely different failure patterns. The zone map above is a starting point, not a rigid rule.
The 10-Minute Monthly Check Every LA Gate Owner Should Do
This is the routine that catches 80% of problems before they become emergency repair calls. It takes about ten minutes, requires no special tools, and can be done on a weekend morning before the sun is too high. Do this every 30 days. Write down the date and what you observe. That record alone is worth more than most homeowners realize when an HOA dispute or warranty claim arises.
- Lubricate the chain or belt drive. Use a dry lithium grease spray on chains, a silicone-based lubricant on belts. Two short sprays along the full length while the gate is open, two more while it is closed. Wipe excess. This is the four-minute task that prevents the most common emergency call we see at Calder Gate Repair Los Angeles.
- Clear the track or rail. Remove leaves, twigs, dirt, and anything that has blown in. Use a leaf blower first, then a dry brush. Check for pebbles lodged between the track and the gate rollers.
- Test the safety reverse. Place a 2×4 piece of wood or a filled trash can in the gate’s path (do not use your foot or a pet – use an object you do not mind denting). Press the close button. The gate should stop and reverse direction within two seconds of touching the object. If it keeps pushing, stop the test immediately and call for service.
- Check the photo-eye sensors. Most LA gates have a pair of small sensors mounted near the bottom on each side of the gate opening. Look for a solid green or red indicator light on each sensor. If either light is blinking, the sensor is misaligned or obstructed. Wipe the lenses with a dry cloth and verify nothing has grown or blown in front of them.
- Listen during a full open-close cycle. Stand near the opener and run the gate once. You are listening for new sounds: grinding, ticking, rattling, or a pitch change in the motor. A healthy opener hums steadily. Any new noise is a warning sign that something is wearing.
- Check for visible looseness. Grab the gate at waist height and try to shake it side to side. There should be no more than 1/8 inch of play at the latch side. Check the bolts on the opener arm, the hinge brackets, and the post mounts with a wrench. Do not over-tighten; just confirm nothing has worked loose.
- Look at the gate’s paint and coating. Specifically, look for new chips, scratches, or bare metal showing anywhere. In Los Angeles, bare steel begins to rust within weeks in coastal areas and quickly flakes in inland heat. Touch up any bare spots with a rust-inhibiting spray paint matched to your gate color.
Write all of this down. A simple note in your phone with the date and any observations is enough. You are building a maintenance record that will matter if a car is ever damaged by your gate, if your HOA questions when you last serviced the gate, or if you need to make a warranty claim on an opener that is still under coverage. Documented maintenance is the difference between a covered repair and a denied claim.
Opener-Specific Maintenance: LiftMaster, FAAC, Viking, and the Rest
Not all gate openers are built the same way, and a generic “service annually” recommendation does not reflect the engineering differences between brands. At Calder Gate Repair, we train our technicians to work on nine major brands, and we see very different service intervals depending on what is bolted to the gate.
LiftMaster and Other Brushed Motor Openers
LiftMaster is the most common residential gate opener in Los Angeles, particularly the LA400 and LA500 series. These use a brushed DC motor, which means carbon brushes inside the motor make physical contact with the armature. Those brushes wear down over time and produce fine, dark dust inside the housing. In inland heat zones, brush wear accelerates. A LiftMaster opener should have its internals inspected every 12 months for brush dust buildup and motor bearing noise. Ignore this, and the motor will still work right up until the day it does not, and you will be looking at a motor replacement rather than a brush service.
Viking and Other Brushless Motor Openers
Viking residential openers such as the G-5 series use a brushless motor design. There are no carbon brushes to wear, no brush dust to clean, and far fewer moving parts inside the motor itself. These motors run cooler and last significantly longer with less intervention. But that does not mean zero maintenance. The bearings still benefit from lubrication, the control board still accumulates heat stress, and the limit switches still drift with temperature. A brushless Viking opener can go 18 to 24 months between professional inspections, but the external mechanical components – chain, sprockets, rollers, hinges – still need the same monthly attention as any other brand.
FAAC and BFT Hydraulic and Electro-Mechanical Systems
FAAC and BFT are common choices for heavier ornamental gates in neighborhoods like Hancock Park, Los Feliz, and parts of Pasadena where gate aesthetics matter as much as function. These brands produce both hydraulic and electro-mechanical operators. Hydraulic systems require checking hydraulic fluid level and looking for seepage at fittings every 12 months. A hydraulic leak left undiscovered will eventually cause the gate to move sluggishly, then not at all, and the repair is more expensive than the fluid check would have been. Electro-mechanical FAAC and BFT units follow a similar inspection schedule to LiftMaster: inspect and clean annually, replace limit switches more often in heat-heavy zones.
What This Means for You
- If your opener hums, runs hot, or needs more frequent adjustments in the summer, book an annual inspection with a technician who is familiar with your specific brand.
- Brushed motor openers in inland LA zones should not skip their 12-month inspection. The heat is doing more damage than you can see.
- Brushless openers still need mechanical service on the gate itself. Do not assume “maintenance-free motor” means “maintenance-free gate.”
If you are unsure what brand is on your gate, look at the opener housing or the remote. The brand name is almost always printed on the cover or the circuit board. If it is not, any technician with multi-brand experience can identify it in under a minute. For more detail on opener-specific failures, see our guide to Gate Opener Repair in Los Angeles.
How to Test Your Safety Reverse and Photo-Eye Alignment (With Pass/Fail Criteria)
Your gate’s safety reverse is the mechanism that stops the gate and reverses direction if it encounters an obstruction while closing. It is a federal safety requirement for automatic gate operators under ASTM F2200 and UL 325 standards. If it fails, the gate will keep pushing until it either stalls the motor or damages whatever is in its path. In a city with as many driveways, delivery trucks, strollers, and pets as Los Angeles, a functioning safety reverse is not optional.
The Obstructed Close Test
- Place a solid object in the gate’s path. A filled five-gallon bucket works well. Do not use a person, a child, a pet, or your own car.
- Press the close button or remote.
- Watch and time what happens when the gate touches the object.
- Pass: The gate stops and reverses direction within two seconds of contact. It reopens to the full open position or at least clears the obstruction completely.
- Fail: The gate continues pushing, stalls, or reverses slowly and jerkily. Stop the test immediately by pressing the open button or hitting the manual release.
The Photo-Eye Interruption Test
- Find the two photo-eye sensors mounted low on each side of the gate opening. They look like small black or gray boxes with a lens on the front and a small indicator light.
- Check the indicator lights first. With the gate in any position, both sensors should show a solid light (green, red, or amber depending on brand). A blinking light on either sensor means it is out of alignment or one lens is blocked.
- Press the close button and then quickly pass your hand through the beam between the sensors.
- Pass: The gate stops immediately or reverses. The indicator light on one sensor blinks briefly.
- Fail: The gate continues closing as if nothing happened. This means the sensors are either misaligned, dirty, disconnected, or bypassed.
Test the safety reverse and photo-eyes once a month. Set a recurring reminder on your phone. If either test fails, stop using the automatic opener and switch to manual operation (every opener has a manual release, usually a lever or a key) until a technician can inspect it. A gate with a failed safety reverse is a liability event waiting to happen, and in Los Angeles, where foot traffic and package delivery are constant, the exposure is real. For electric gate safety issues, see Electric Gate Repair in Los Angeles.
HOA Documentation: What to Keep and Why It Matters When Liability Is Disputed
Most single-family homes in Los Angeles with automatic gates are in neighborhoods governed by an HOA, and many of those HOAs have rules about gate appearance, gate height, gate operation, and maintenance. A neglected gate that damages a vehicle, a delivery person, or a neighbor’s property quickly becomes a dispute where the question is not “what happened” but “who was responsible.” The answer usually comes down to documentation.
Here is what to keep, and for how long:
- Maintenance logs: Every time you lubricate, adjust, clean, or test your gate, write down the date and what you did. A phone note or a dedicated notebook is fine. Keep at least three years of history.
- Professional service invoices: Any time a technician works on your gate, keep the invoice. It should list the work performed, the parts replaced, the gate’s condition at the time of service, and a statement noting that safety systems were tested.
- Safety reverse and photo-eye test results: Once a month, note “reverse: pass, photo-eye: pass” in your maintenance log. If a claim ever arises, showing a pattern of monthly safety testing is stronger than a defensive statement after the fact.
- Photos of the gate: Take a photo of the gate, opener, and hinges on the same day you do monthly maintenance. Over time, this creates a visual record of the gate’s condition that can show whether damage was sudden or gradual.
- HOA correspondence about the gate: If your HOA sent a letter about your gate, keep it. If you requested approval for a gate modification, keep the approval. If your HOA has rules about maintenance frequency, keep a copy of the relevant section.
Here is the scenario we have seen many times: a gate fails, a car is damaged, and the HOA or the car owner’s insurance company asks when the gate was last inspected. The homeowner who can produce a maintenance log with monthly entries and a professional invoice from six months ago is in a very different position than the homeowner who says “I think it was working fine.” In Los Angeles, where the average cost of a damaged vehicle claim involving a gate can run well into the thousands, documentation is not bureaucracy. It is protection.
In our experience, a well-documented maintenance history is also what HOAs look for they are deciding whether a failed gate is your responsibility or a common-area issue. If your gate is on a shared driveway or your property’s gate serves multiple units, do even more record-keeping, not less. The more precise the record, the cleaner the liability answer.
Signs Your ‘Maintenance Visit’ Was Actually a Parts Replacement in Disguise
Not every company that offers “gate maintenance” in Los Angeles is operating with the same definition of the word. Maintenance should mean inspection, cleaning, adjustment, lubrication, and correction of minor issues before they become failures. A parts replacement is when a technician replaces a component that did not need replacing. Here is how to tell the difference on your invoice and in the technician’s behavior:
- “Maintenance visit” that results in a capacitor replacement every single time: Capacitors are a wear item in hot climates, but they typically last three to five years, not twelve months. If your invoice shows a capacitor replaced at every annual service, ask why the previous one failed so quickly. A pattern of replacing the same part suggests either poor-quality parts or unnecessary replacements.
- An invoice that lists “rebuilt” or “replaced” with no description of what failed: A legitimate parts replacement should say what the old part was doing wrong. “Chain stretched beyond spec” is a reason. “Replaced chain” with no explanation is a red flag.
- A technician who cannot explain what the old part was doing: When you ask “what would have happened if we had left this in place?” a knowledgeable technician can answer immediately and in plain language. If the answer is vague, the part may have been fine.
- Rapid-fire part changes during the same visit: Replacing one part on a single visit is common. Replacing three or four expensive parts in one visit, especially on a gate that was working before the visit, deserves a conversation. Good technicians will show you the failed part and explain the failure mode.
- No before-and-after photos: A maintenance visit should include documentation. If the company cannot show you what the components looked like before and after the work, you are being asked to take the diagnosis on faith.
The reason this matters in Los Angeles specifically is the sheer number of gate companies operating here. It is a large, dense market, and the barrier to entry for a “gate maintenance” business is a truck and a logo. A written price before any work starts is the single best protection against a maintenance visit that becomes a parts replacement invoice. That is a core part of how we operate at Calder Gate Repair: you agree to the number before we turn a bolt. The invoice matches the quote because the quote is the invoice. It is not a special feature. It is how the whole job should be handled from the start.
If you have an invoice that shows multiple parts replaced on a single visit and you want a second opinion, most reputable gate companies will review it and tell you whether the work was justified. For a full picture of what gate repair should cost in Los Angeles, see our guide on Gate Repair in Los Angeles.
Common Mistakes to Avoid
- Using WD-40 on your gate chain. WD-40 is a water displacer and light solvent, not a long-term chain lubricant. It will rinse off and leave the chain dry within days. Use a dry lithium grease for chains or a silicone lubricant for belts.
- Ignoring a gate that still opens but makes a new noise. A new grinding, clicking, or humming sound is a warning signal that something is wearing. The gate will often keep working right up until the component fails completely. Address the noise when you first hear it.
- Testing the safety reverse with a person or pet. Never use a child, a dog, or your own body to test a gate’s reverse function. Use a five-gallon bucket, a piece of lumber, or a filled trash can. If the safety reverse fails, the object gets dented, not a person.
- Waiting to lubricate until the gate starts squeaking. By the time a chain or roller audibly squeaks, metal-on-metal wear is already occurring. Lubricate on a schedule, not in response to a sound.
- Skipping documentation because “nothing went wrong.” A maintenance log with nothing unusual noted is exactly what you want if a dispute ever arises. “No issues found” entries are not worthless; they are evidence of consistent care.
- Assuming the photo-eye sensors are working because the gate closes. A gate can close normally while the photo-eyes are misaligned or disconnected if the safety reverse is doing the work alone. Test both systems separately every month.
- Doing a major structural adjustment yourself after an earthquake. Gate posts and concrete footings carry the full weight of the gate, and poorly adjusted geometry can cause a gate to fall. If your gate is visibly out of alignment after a seismic event, call for a professional inspection before attempting your own correction.
When to Call a Professional
Most monthly maintenance is squarely in DIY territory, but there are moments when calling a professional is the correct and safest choice. If your gate’s safety reverse or photo-eye fails either test described above, stop using the opener and call for service. If your gate is visibly out of plumb, if the post footing shows gaps wider than half an inch, or if the gate grinds, shudders, or stalls mid-cycle, that is a structural or motor issue, not a lubrication issue. High-tension springs and torsion systems should never be adjusted by a homeowner. These components are under extreme load and can cause serious injury if released incorrectly. Same rule applies to any work on the opener’s electrical wiring or capacitor. A capacitor stores an electrical charge even after the opener is unplugged.
Calder Gate Repair Los Angeles offers free estimates in Los Angeles. Call (213) 322-1415 and a live person will answer, book your visit, and give you a written price before any work starts. Our technicians are background-checked, arrive in uniform, and specialize in the nine major brands most Los Angeles homeowners actually own. Part of the Relay Home Co. family, established 2009, we back every repair with our 365-Day Done Right Promise: if the repair fails within 365 days, we return at no charge.
Frequently Asked Questions
Every 60 days, regardless of your specific neighborhood. Coastal homes can go slightly longer in damp conditions; inland homes should not exceed 60 days because heat accelerates chain stretching and belt drying. The most common emergency repair call we see at Calder Gate Repair Los Angeles is a chain or belt that snapped or jumped a sprocket because it was never lubricated. Call (213) 322-1415 if your gate is already making noise – estimates are free.
Most gate maintenance visits in Los Angeles run between $95 and $180 depending on the opener brand, gate size, and whether any adjustments are needed. That number is for inspection, cleaning, lubrication, and minor adjustments. Parts are quoted and agreed to separately before any work begins. At Calder Gate Repair, you receive a written price before we turn a bolt, and the invoice matches that number. Call (213) 322-1415 for an exact quote for your gate.
Look at the opener housing or the remote control. The brand name is printed on the cover, on the circuit board inside the housing, or on the remote itself. If the label is faded or missing, the remote’s shape and button layout are usually enough for a technician to identify the brand. Our team at Calder Gate Repair works on nine major brands, including LiftMaster, FAAC, BFT, and Viking, so we can identify almost any residential opener in Los Angeles in under a minute.
The safety reverse test, done with a five-gallon bucket or piece of lumber, is the most important monthly check. It is a federal safety requirement, it takes two minutes, and it is the difference between a gate that stops when it hits something and a gate that does not. The second most important check is photo-eye alignment, because a gate that closes normally can still have disabled photo-eyes. Call (213) 322-1415 if either test fails – estimates are free.
Yes. Coastal Los Angeles properties need more frequent rust and corrosion checks on hinges, welds, and opener circuit boards because of salt air. Inland properties need more attention to belt tension, capacitors, and limit switches because sustained heat degrades these components faster. Hillside properties need quarterly plumb and footing checks. This is exactly why a generic calendar-based checklist does not work for Los Angeles homeowners.
Run a full open-close cycle and listen for new sounds. Check that the gate scribes the same path, that the posts are still plumb, and that the gate does not bind at any point. Run the safety reverse test. If anything feels different, have the gate professionally inspected before the next significant event. A gate that shifted during one earthquake may fail during the next one. For professional inspection in the Los Angeles area, call (213) 322-1415.
The Bottom Line
A Los Angeles gate maintenance checklist only works if it matches the conditions your gate actually lives in. Coastal gates need rust vigilance. Inland gates need heat-related wear checks. Hillside gates need alignment and footing inspections. Every gate owner needs to lubricate the chain or belt every 60 days, test the safety reverse and photo-eyes monthly, and keep a written maintenance log that would survive an HOA dispute or an insurance claim. The preventive steps cost almost nothing in time or money. The emergency repair they prevent costs considerably more, and in a city where a failed gate can mean a security vulnerability, a liability risk, and an invoice you were not expecting, the four-minute lubricate-and-log habit is the best insurance you can buy.
If you are in the Los Angeles area and want a professional maintenance visit, a safety system check, or a written quote for repair work, call Calder Gate Repair at (213) 322-1415. We are the dedicated gate repair specialist within the Relay Home Co. family, serving Los Angeles since 2009. Visit our Calder Gate Repair Los Angeles home page to learn more about our service area, or read about Gate Repair in Los Angeles, Electric Gate Repair in Los Angeles, and Gate Opener Repair in Los Angeles to understand what each service covers and what to expect on the day of your visit. A live person answers every call, 24/7, and every job starts with a written price you agree to before work begins.
Written by Nico Alvarez, Owner at Calder Gate Repair Los Angeles, serving Los Angeles since 2009.
See the difference
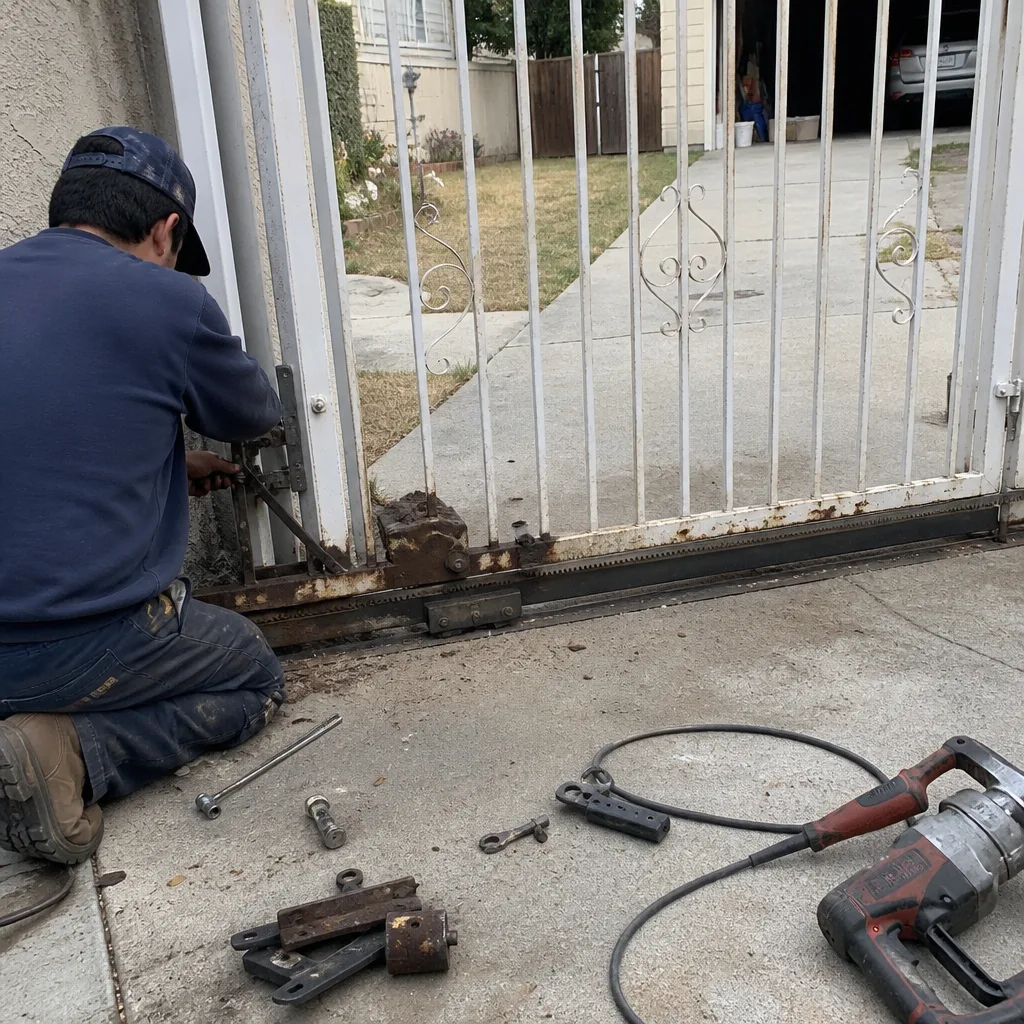 Before
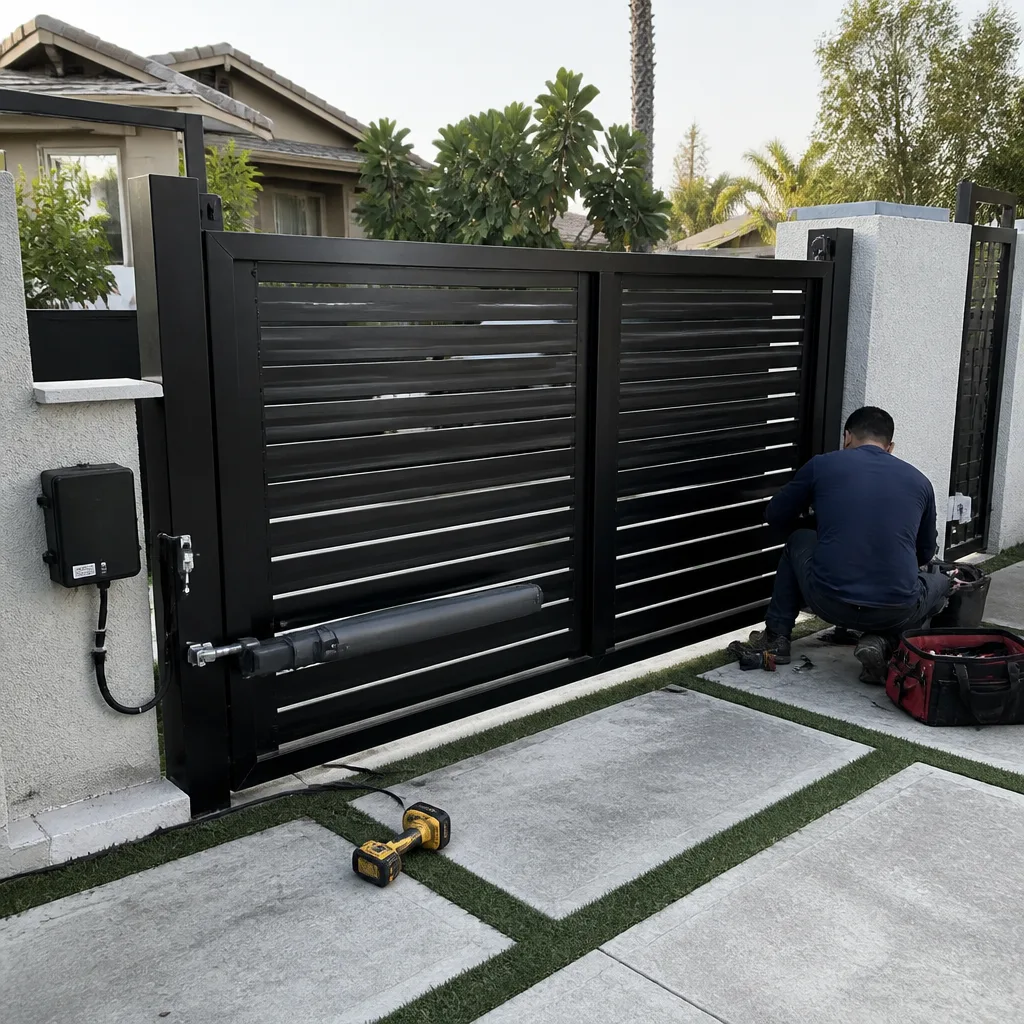 After
After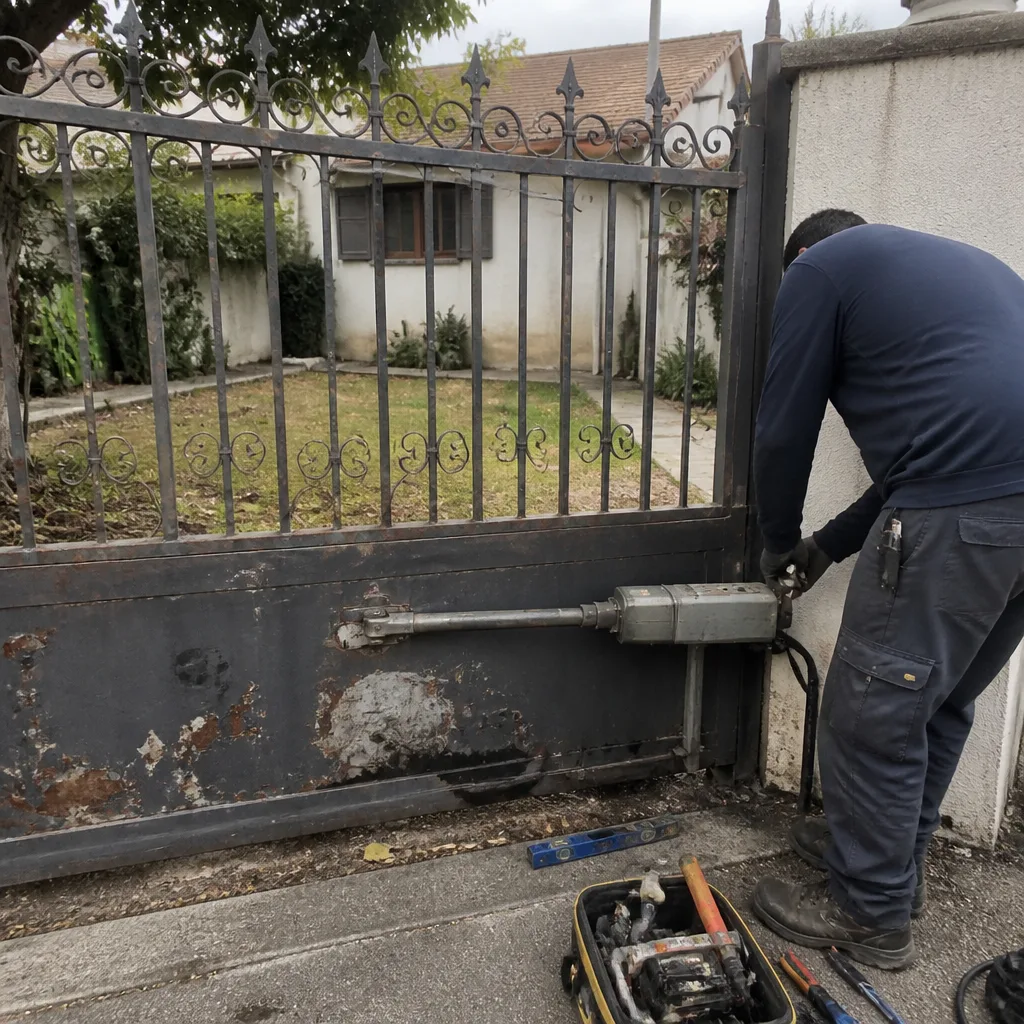 Before
 After
After Before
 After
After