
Last updated October 16, 2026
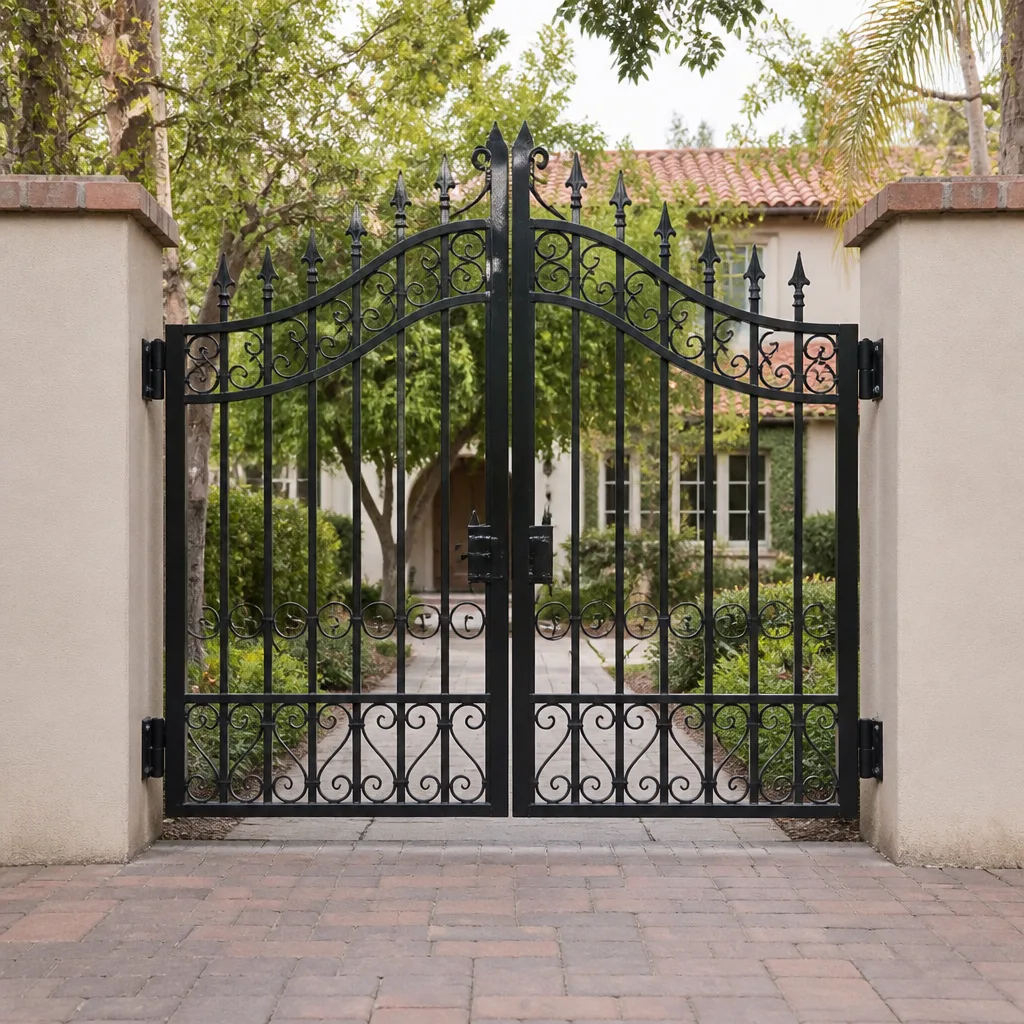 Wrought iron
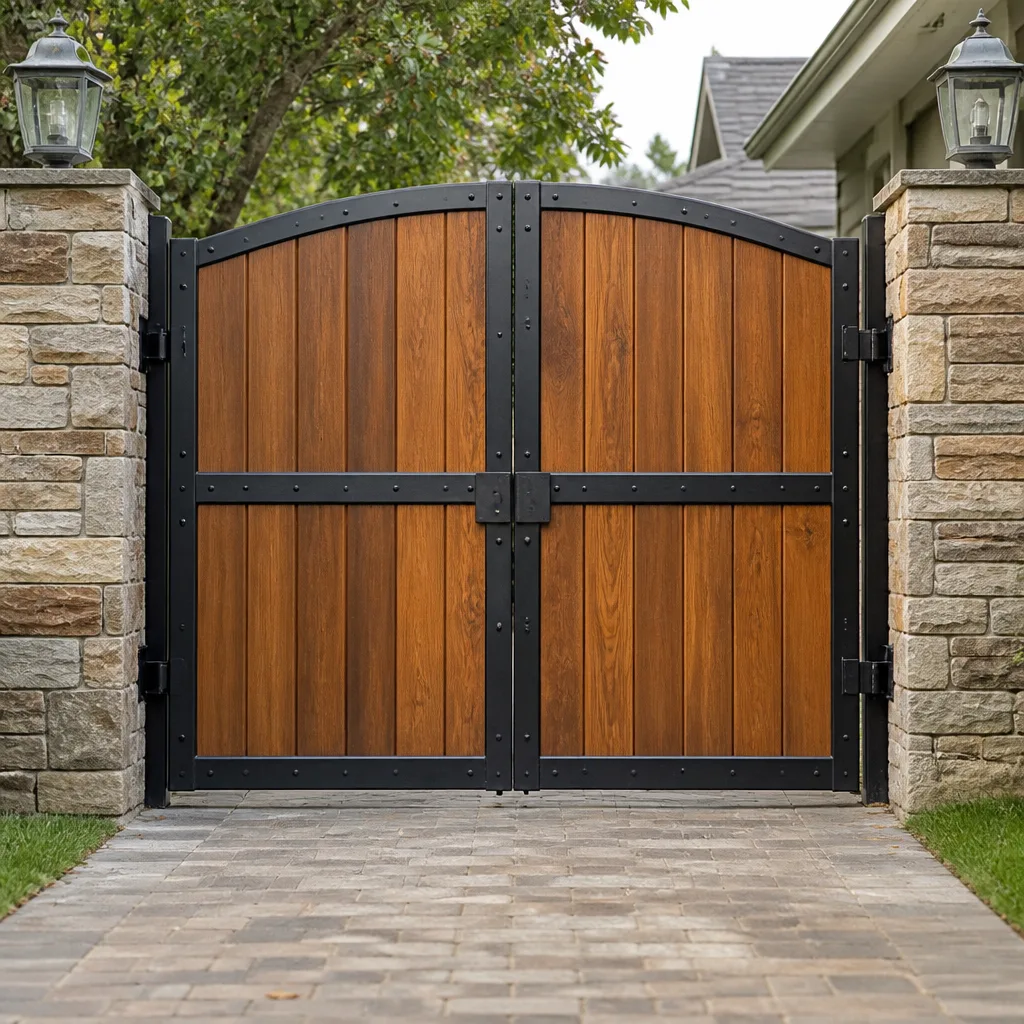 Wood & steel frame
 Farm & ranch
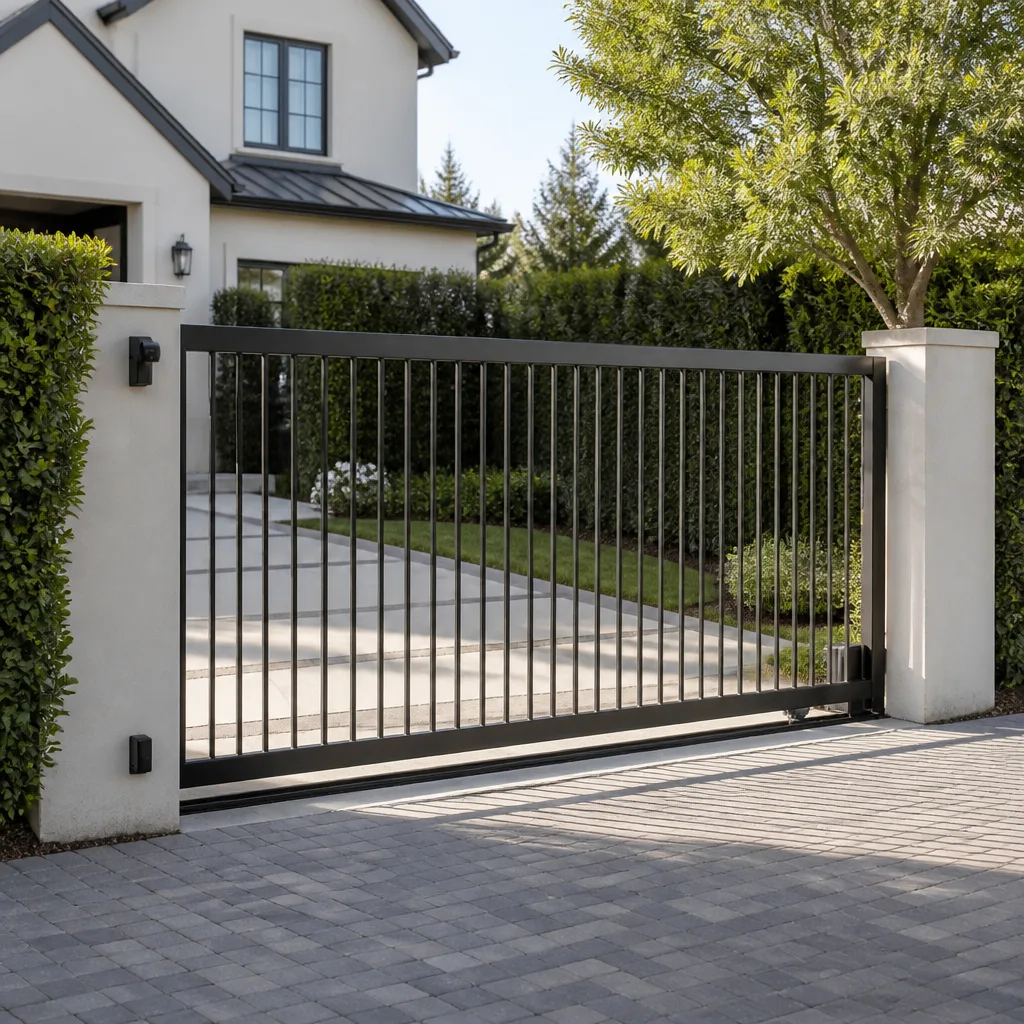 Sliding driveway gates
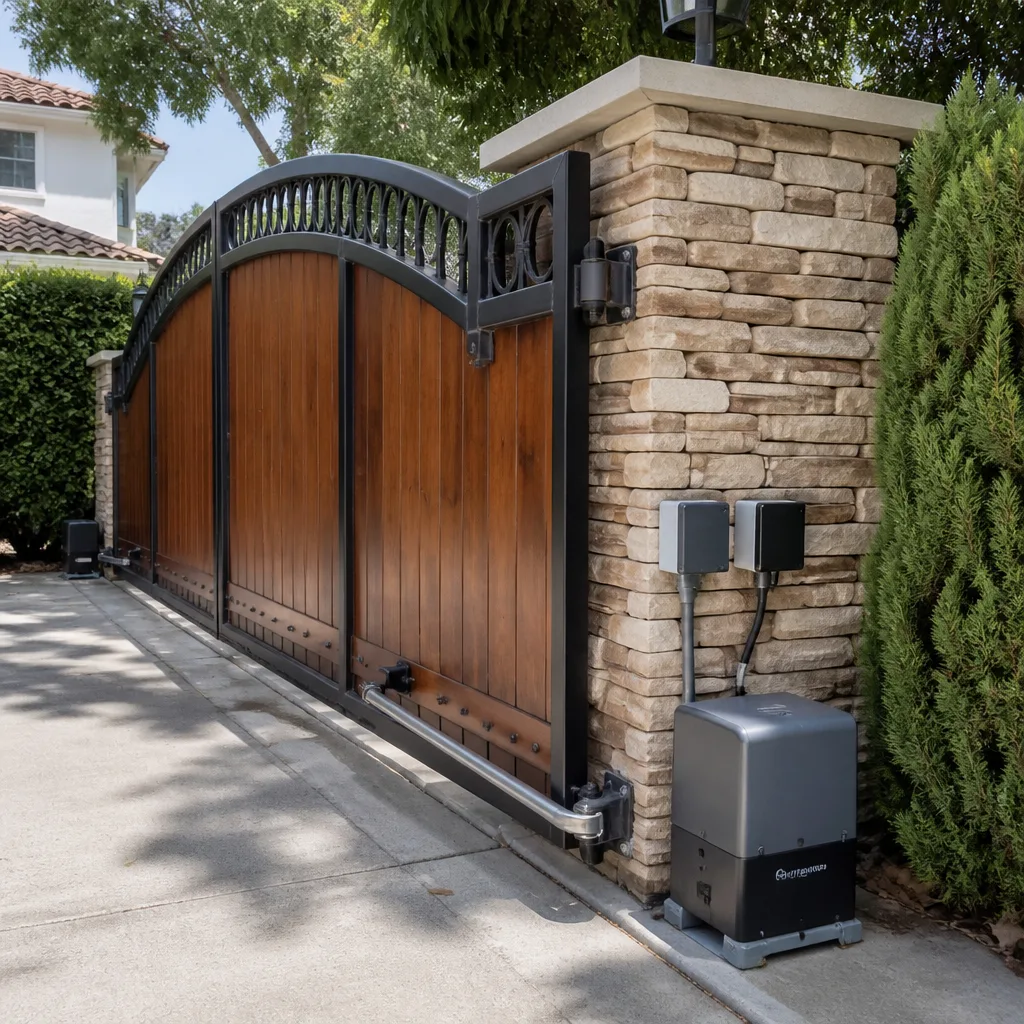 LiftMaster operators
Free on-site gate assessment - hinges, posts, and your LiftMaster or Nice gate operator checked before anything is quoted
The assessment is free and the quote is the invoice.
Get your free estimateGate Repair Warning Signs: A Los Angeles Homeowner’s Reference Guide
A gate that hesitates for two seconds before moving isn’t “warming up.” It’s showing the earliest symptom of a failing motor capacitor, and in our experience across Los Angeles, that gate will stop mid-cycle within 60 to 90 days, usually at 7:40 a.m. on a weekday when you’re already running late. Most gate failures announce themselves weeks or months in advance. The problem is that the warning signs look like quirks, not emergencies. This guide gives you a tiered framework for reading those signs, matching each symptom to its likely cause, and knowing whether you can monitor it, schedule a gate repair this month, or stop using the gate immediately. By the end, you’ll be able to triage your own gate the way a technician does, before a small capacitor becomes a full motor replacement or a sagging hinge becomes a dropped leaf.
Styles & brands we work with
Quick Answer
Gate repair warning signs fall into three urgency tiers: cosmetic issues you can monitor, mechanical problems that need repair within about 30 days, and safety hazards that mean the gate should be stopped and locked off until a professional arrives. The most serious signs are a gate that doesn’t reverse when it hits resistance, a gate that drops or sags visibly, exposed or sparking wires, and grinding noises coming from the opener itself. In Los Angeles, environmental factors like expansive soil, coastal humidity, and sun-baked electronics mean these signs appear earlier than they would in milder climates, which is why a monthly visual check of hinges, posts, and cable connections is genuinely worth the five minutes. For seasonal gate repair care in Los Angeles, adjust your inspection routine to match the weather.
Table of Contents
- The Three-Tier Warning Sign System
- Opener Motor Warning Signs (and What They Sound Like)
- Brand-Specific Warning Signs: LiftMaster, DoorKing, FAAC, and Mighty Mule
- Structural Warning Signs: What Your Gate’s Hardware Is Telling You
- Safety Entrapment Warning Signs Most Homeowners Miss
- Los Angeles Environmental Factors That Mimic Mechanical Failure
- How to Photograph and Document Warning Signs Before You Call
- Common Mistakes to Avoid
- When to Call a Professional
- Frequently Asked Questions
- The Bottom Line
The Three-Tier Warning Sign System
Every gate symptom fits into one of three categories. The goal of this system is to replace vague worry with a decision you can act on today. Here’s how we classify them in Los Angeles, where a gate that’s exposed to full sun, salt air near the coast, or clay soil in the Valley will age differently than one in a mild inland climate.
Tier 1: Cosmetic or Monitor-Only
These signs don’t require immediate action, but they’re worth noting. Surface rust on wrought iron gates is a classic Los Angeles issue because of the marine layer that rolls through neighborhoods like Playa del Rey, Marina del Rey, and San Pedro. The salt and moisture sit on unprotected metal and start pitting the finish within two or three years. A little surface rust isn’t structural, but if it spreads to hinges or the gate’s frame, it moves into Tier 2.
- Light surface rust on decorative areas, not hinges or welds
- Minor discoloration on the gate’s powder coat finish
- A gate that’s slightly slower on cold mornings but returns to normal by midday
- Light squeaking that stops after lubrication
- Small cosmetic cracks in concrete around the post base, under 1/8 inch
For Tier 1 items, make a note on your phone, take a photo, and check again in 30 days. If it’s stable, keep monitoring. If it changes, promote it to Tier 2.
Tier 2: Repair Within 30 Days
These are functional problems that will get worse, but don’t yet pose a safety risk. A gate that struggles to open during the first cycle of the day, then behaves for the rest of the afternoon, is typically showing capacitor fatigue or a motor that’s drawing more amps than it should. In Los Angeles, this pattern shows up more in summer when heat adds resistance to every electrical component in the loop.
- The gate hesitates before moving, then operates normally
- You hear a humming sound for a second or two before the gate starts
- The gate opens or closes slower than it did six months ago
- One hinge shows visible wear: a slight droop, a gap that wasn’t there before
- The opener’s remote range has dropped noticeably, from 50 feet to 15 or 20 feet
- The gate stops mid-cycle and requires a second button press to finish
- The auto-close function trips inconsistently
None of these mean “stop using the gate today.” They mean “schedule a service call within the month.” The repair at this stage is almost always less expensive than what it becomes in Tier 3. A worn hinge replaced now is $75 to $150. A dropped gate leaf that bends the frame or destroys the opener gearbox because it was ignored is a $600 to $1,200 repair.
Tier 3: Stop Using the Gate Immediately
These are the signs that mean the gate is a genuine safety and security hazard. In our years working on gates across Los Angeles, from Hancock Park estates to West Adams bungalows, we’ve seen every one of these and the damage they cause when ignored.
- The gate does not reverse when it meets resistance (hands, car bumpers, anything)
- The gate falls, drops, or slams when it reaches the end of its travel
- Exposed wires visible anywhere on the gate, posts, or opener housing
- Sparks or a burning smell when the gate operates
- The opener makes a loud grinding noise (nylon gear stripping inside the housing)
- A post is visibly leaning more than an inch out of plumb
- The gate leaf sags enough that it drags on the ground or scrapes the other leaf
- The opener runs but the gate doesn’t move at all (broken chain, sheared pin, or stripped gear)
If you see any Tier 3 sign, disconnect power to the opener if you can do so safely, lock the gate in place if possible, and call a professional. Do not let kids or pets near it. Do not try to “help” the gate along by pushing it while the motor strains. This is where a Gate Repair in Los Angeles technician earns their keep, and it’s always cheaper to fix a Tier 3 problem before someone gets hurt or a vehicle gets damaged.
Opener Motor Warning Signs (and What They Sound Like)
Your gate opener has a vocabulary. Most people hear it but don’t listen. A healthy opener produces a consistent whir, like a cordless drill running under moderate load. When something’s wrong, the sound changes in specific, diagnosable ways. Here’s what each sound means, decoded from trade language into plain words.
The Hum-Then-Start (Capacitor Failure)
You press the remote. Nothing moves for one to three seconds. Then the gate lurches into motion. That delay is the sound of the motor’s start capacitor struggling to build enough charge to kick the motor over. Capacitors are small cylindrical components that store and release a burst of energy to start the motor. In Los Angeles heat, especially in the San Fernando Valley where daytime temperatures in Woodland Hills and Sherman Oaks routinely hit 100°F in summer, capacitors degrade faster than anywhere else in the country. A failing capacitor is a $40 to $90 part. If it fails completely, it can take the motor windings with it, and that’s a $400 to $700 repair. The hum-before-start is one of the most reliable early warnings your gate will give you.
The Grind (Gearbox or Chain Failure)
Grinding is never normal. If your opener sounds like rocks in a blender, the nylon gear inside the opener housing has started to strip. Most opener manufacturers use a sacrificial nylon gear by design: it’s engineered to fail before the steel motor shaft does, making the repair more affordable. But if you keep running the opener after the gear starts stripping, the shavings circulate through the housing and eventually bind the motor. At that point, the repair becomes a replacement. Grinding also comes from a chain that’s jumped a sprocket or a belt that’s fraying. Either way, it’s a Tier 2-to-Tier 3 sign depending on severity. A light grind on startup that smooths out is Tier 2. A constant grind is Tier 3, stop using it.
The Click-Nothing (Limit Switch or Control Board)
You press the remote. You hear a solid “click” from the control box. The gate doesn’t move. That click is the relay on the control board firing, which tells us the board is getting the signal and sending voltage. The problem is downstream: either a limit switch (the small sensor that tells the gate when to stop at the open and closed positions) has failed, or the motor itself has burned out. If the click happens and the gate hums, it’s the motor or capacitor. If the click happens and there’s silence, it’s the limit switch or a broken connection. On a FAAC opener, this often presents as the gate moving six inches and stopping. On a LiftMaster, it’s usually a dead stop with no motion at all.
The Strain (Obstruction or Binding Hinge)
A healthy opener moves the gate with an even, unhurried rhythm. If the motor sounds like it’s working harder than it used to, like a car climbing a hill in the wrong gear, something is adding mechanical resistance. Usually it’s a hinge that’s lost lubrication, a wheel that’s seized on its track, or a post that’s shifted and put the gate into a slight bind. The opener is now pulling more amps than it was rated for. Amperage over time equals heat. Heat equals premature motor death. If your gate sounds like it’s straining, it is. Find the resistance point and fix it before the opener pays the price.
Brand-Specific Warning Signs: LiftMaster, DoorKing, FAAC, and Mighty Mule
Different opener brands communicate failure differently. If you know what brand you have, you can read the signs more precisely. This matters because the fix for the same symptom can differ by $200 or more depending on the opener’s design.
LiftMaster: Blink Patterns and the Learn Button
LiftMaster openers are common on single-family gates throughout Los Angeles from Silver Lake to Brentwood. When something’s wrong, the opener’s diagnostic LED blinks a specific number of times. A single blink followed by a pause, repeated, usually points to a sensor misalignment or a wiring fault on the safety input. Two blinks mean the motor’s thermal protection has tripped, which means it’s been working too hard, usually because of a binding gate. Four blinks indicate a reversing sensor issue. Five blinks is the force setting: the opener detected more resistance than it was programmed to accept, and it’s refusing to make the full run. The most common LiftMaster failure we see in Los Angeles is a melted plastic gear inside the housing. LiftMaster uses a thermoplastic gear that’s designed to fail quietly rather than shatter, but in sustained heat, it strips faster than the manufacturer’s rated cycle life would suggest.
DoorKing: Numeric Fault Codes
DoorKing openers, common on larger estate gates and some HOAs in Los Angeles, display numeric codes on the circuit board. Code 31 means the gate hit an obstruction and reversed. Code 32 means the entrapment sensor circuit is open, which is a Tier 3 safety issue. Code 33 means the gate didn’t reach the full closed position within the programmed time, usually due to a mechanical bind or a failing motor. DoorKing systems are workhorses, but they’re sensitive to power quality. In neighborhoods with older electrical infrastructure, voltage sag can cause intermittent fault codes that make the system look possessed. A good technician will check the supply voltage at the control board before replacing parts.
FAAC: Slow Drift and Error Lights
FAAC is an Italian brand built for high-cycle duty, and it shows up on a lot of modern LA homes with contemporary architectural gates. FAAC hydraulic and electromechanical operators fail differently depending on the model. The hydraulic units (like the 400 and 770 series) will drift closed or open when the system is at rest if the internal seals are wearing out. You’ll notice the gate has moved a few inches from where it was an hour ago. That’s a seal failure, and it’s Tier 2: the gate still works, but the internal leak will worsen. Electromechanical FAAC units (like the 391 or S450H) show a blinking error light on the control board that corresponds to a table in the manual. Most FAAC boards have a sequence of red and green LEDs that flash in patterns. If you see any blinking that isn’t the normal steady ready light, take a photo of the pattern before you call.
Mighty Mule: Noisy Actuator Arm
Mighty Mule dominates the DIY and light-commercial gate market, and we see plenty of them on single-swing driveway gates across the Los Angeles area. The Mighty Mule actuator arm is the weak point. It’s a 12-volt linear actuator that extends and retracts. When it starts making a clicking or ratcheting sound, the internal plastic gears are wearing. When it moves but makes a loud buzz, the motor inside the actuator is struggling. Mighty Mule systems are designed to beowner serviceable, but the actuator itself isn’t rebuildable. Replacement arms run $180 to $260, which is often close to the price of replacing the whole opener with a new kit. That’s worth knowing before you spend money on a fix that doesn’t make financial sense.
If you’re not sure what brand you have, check the opener housing for a label, or call us and we’ll help you identify it from a photo. Our Gate Opener Repair in Los Angeles work covers all of these brands, and we’ll tell you honestly if a repair makes sense or if replacement is the smarter money.
Structural Warning Signs: What Your Gate’s Hardware Is Telling You
The opener gets all the attention, but most gate failures in Los Angeles start with the physical structure: the hinges, the posts, the wheels, and the track. Here’s what to look at when you’re doing a monthly check.
Hinge Wear: The Sag Test
Open the gate halfway. Now look at the gap between the gate leaf and the post at the hinge side. If the gap is wider at the top than the bottom, the top hinge is wearing. Grab the gate leaf and try to lift it. If it moves up even a quarter inch, the hinge bearings or bushings are shot. A single worn hinge puts the entire weight of the leaf on the remaining hinges, which accelerates their failure and eventually stresses the gate frame itself. In Los Angeles, where many gates are heavy steel tube with stucco or wood infill, hinge replacement is one of the most common repairs we do. It’s a $125 to $250 job per hinge depending on access and gate weight. Waiting until the gate drops is a $800 to $1,500 job. The sag test takes 20 seconds.
Post Lean: What to Measure
Stand back and look at the gate posts in relation to the fence line. A post that’s leaning even slightly changes the geometry of the entire gate. The hinges are no longer parallel, the latch no longer aligns, and the opener has to push uphill or downhill. In Los Angeles, post lean has two primary causes: cars (more common than anyone admits, especially in neighborhoods with tight driveway access like Echo Park and Silver Lake) and expansive soil. The clay-heavy soil in much of the LA basin expands when wet and contracts when dry. Over five or ten years, this cycle can push a post out of plumb without any vehicle contact at all. If your post is leaning, don’t just re-shim the hinges. Find out why it’s moving. A post that’s actively shifting will take every repair with it.
Track and Wheel Wear on Slide Gates
Slide gates ride on a steel track with either wheels or a cantilever system. The failure signs are visible and audible. Look at the track: if it’s shiny in one spot, that’s the wear point. If the wheels are flat-spotted or making a “thunk-thunk-thunk” as the gate moves, a wheel is seized. On cantilever gates, check the rollers inside the gate frame for wobble. A cantilever gate that’s rocking side to side as it moves is warning you that the internal rollers are failing. Replacing a wheel is $60 to $120. Replacing a track that’s been torn up by a failed wheel is $500 to $900. The math on early detection isn’t complicated.
The Latch and Lock: Security Warning Sign
A gate that doesn’t latch properly isn’t just an annoyance. It’s a security failure. If you have to pull the gate an extra inch to get the latch to engage, or if the latch only catches on the second attempt, the gate has shifted out of alignment. That shift is your warning sign that something structural is changing: a post is moving, a hinge is wearing, or the gate frame itself is flexing. In Los Angeles, where security gates exist for a reason, a gate that doesn’t latch is a gate that doesn’t do its job. Fix the alignment before someone notices that your gate is an easy target.
Safety Entrapment Warning Signs Most Homeowners Miss
This is the section we want every Los Angeles homeowner to read twice. Gate safety systems exist for a reason: a moving gate leaf weighs 300 to 800 pounds or more. That weight does not negotiate. Every automatic gate opener installed in the United States is required by UL 325 standards to include at least two independent entrapment protection mechanisms. When those mechanisms fail, the gate becomes a liability that can seriously injure a person or crush a vehicle. Here’s how to know if your safety systems are working, and what failure feels like in real terms.
The “Does It Reverse?” Test
This is the single most important diagnostic you can do, and it takes 30 seconds. While the gate is closing, place a firm object in its path: a traffic cone, a trash can, a piece of 2×4. The gate should reverse direction within two seconds of contact, or before contact if you have a photoelectric sensor (the beam-type sensors usually mounted on the posts). If the gate keeps pushing, or if it stops and stays there, the safety reverse system is not working. This is a Tier 3 condition. Stop using the gate. A gate without functioning safety reverse is roughly as safe as a car without brakes. In our experience, faulty safety systems are the most common serious issue we find on gates that “work fine” according to their owners. The opener still opens and closes, so the owner assumes everything is fine. It isn’t.
Mechanical Slowdown vs. Safety Intervention
Drivers feel this one from the driver’s seat. A gate that’s mechanically slowing down takes the whole travel path slowly, like a tired runner. It’s slower from start to finish, and it’s been getting slower over weeks. A gate that’s triggering its safety system looks different: it moves at normal speed, then suddenly slows or stops when it reaches a specific point in its travel, usually near the close position. That specific-point slowdown means the opener is sensing resistance and reducing force. Sometimes that’s the safety system working correctly against an obstruction. Sometimes it’s a false trigger from a misaligned sensor. Either way, it’s a sign that something in the safety loop needs attention. Don’t ignore it and don’t disconnect safety sensors to “fix” the problem. That’s how people get hurt.
The Photoelectric Sensor Alignment Issue
Those small eyes mounted on the gate posts at knee height are the photoelectric sensors. They project an invisible beam from one side to the other. If the beam is broken, the gate won’t close, or it reverses if it was already closing. In Los Angeles, sensor alignment problems are endemic because of soil movement. The post shifts a quarter inch, the beam misses the receiver, and suddenly your gate won’t close or intermittently reverses for no apparent reason. The fix is usually simple: realign the sensors and tighten the mounting brackets. But if you don’t know that’s what’s happening, you might call an electrician about a “gate electrical problem” that’s actually a geometry problem. Check your sensors before you assume anything else.
Force Setting Drift
Every opener has a force adjustment: how much resistance it will push through before reversing. The setting drifts over time, especially on older openers with potentiometer-style adjustments. A gate that used to reverse when your trash can was in the path, but now just keeps pushing, may have a force setting that’s crept too high. On LiftMaster and FAAC openers, the force setting is adjustable through the control board or a dial. We recommend having a technician verify the force setting during any service visit. It’s a 60-second check that could prevent a serious injury. Most manufacturers specify that the gate should reverse from the closed position with a test object in place, and we follow that standard on every safety inspection we do.
If any of these safety tests fail, your gate needs professional attention. Our Electric Gate Repair in Los Angeles techs include a full safety system check on every service call, because a gate that opens and closes but won’t reverse is the most dangerous gate in the city.
Los Angeles Environmental Factors That Mimic Mechanical Failure
Some gate problems aren’t actually gate problems. They’re environmental conditions that manifest as gate symptoms. Knowing the difference can save you a diagnostic fee and help you describe the problem accurately when you call. Los Angeles has three specific environmental factors that show up on gates more than anything else.
Humidity-Swollen Wood Posts and Frames
In neighborhoods that sit in the marine layer’s path, like Westchester, Culver City, and parts of the South Bay, wood gate components absorb moisture from the air even when it isn’t raining. Douglas fir and pine gate frames swell, pressing against hinges and changing the gate’s geometry. A gate that rubs against its post every morning but clears by afternoon is showing you humidity swelling, not mechanical failure. The long-term fix is sealing the wood properly, replacing the wood with steel or aluminum framing, or adding clearance to the hinge side. The short-term insight is that it’s not your opener’s fault. Don’t replace a motor for a moisture problem.
Expansive Soil and Concrete Pad Shifting
Much of the Los Angeles basin sits on soils with high clay content. Clay expands when wet and contracts when dry. Over years of wet winters and dry summers, this cycle moves concrete gate pads, fence posts, and even whole columns. The symptom is a gate that gets progressively harder to open or close, or a latch that no longer lines up. In the Valley and along the foothills of the San Gabriel Mountains, where soil composition varies block by block, this is one of the most common root causes we diagnose. The fix isn’t always to move the post: sometimes it’s a hinge articulation added to give the gate mechanical forgiveness, or a concrete pad that needs to be re-poured. An experienced LA gate tech will look at soil movement before recommending a structural repair.
Sun Exposure and Electronics Degradation
Control boards, capacitors, limit switches, and wiring insulation all degrade faster in sustained heat and UV exposure. A control board mounted inside a metal enclosure on a south-facing driveway in Encino or Tarzana can experience internal temperatures 30 to 40 degrees above ambient. Heat shortens the life of electrolytic capacitors on control boards. It makes solder joints brittle. It degrades wiring insulation until small cracks form and moisture gets in. The symptom is often intermittent: the gate works in the morning, fails in the afternoon heat, works again after dark. That intermittent heat-related failure pattern is one of the most frustrating for homeowners and one of the easiest for a technician to diagnose if you mention the heat correlation. Take note of when your gate acts up. The pattern is the diagnostic clue.
How to Photograph and Document Warning Signs Before You Call
Good documentation before you call a technician saves you money. A sharp diagnosis starts with accurate information, and the best way to give accurate information is with photos and video. Here’s a step-by-step method that any Los Angeles homeowner can follow, and it takes about 10 minutes. This is what we walk our customers through when they call our Calder Gate Repair Los Angeles home line, because it genuinely helps us figure out what’s happening before we even book the appointment.
Step 1: Shoot the Overall Scene
Stand back and photograph the entire gate and both posts in one frame. Try for a straight-on angle that shows the full width. This gives us the gate type (slide or swing, single or double leaf), rough dimensions, and the post configuration. It also shows us the surrounding terrain and any obvious clearance issues.
Step 2: Shoot the Hinges, Top and Bottom
Get close enough to show the hinge body, the mounting plate, and the gap between the gate and post. Photograph all hinges on the gate. If you see wear, a crack, or a widening gap, get a detail shot of that specific hinge. This is where structural diagnosis starts.
Step 3: Shoot the Opener
Open the control box if you can do so safely. Photograph the control board so we can read the brand, model number, and any visible diagnostic lights or fault codes. If there’s an error light blinking, take a 5-second video so we can see the blink pattern. This is the single most useful piece of documentation you can send.
Step 4: Shoot the Track, Wheels, and Ground Contact Points
For slide gates, photograph the track and the wheels at multiple points along the travel path. For swing gates, photograph the bottom of the gate leaves where they meet the ground, and the area around the base of each post. Cracks in concrete, soil gaps around the post base, and wheel wear patterns all show up in these shots.
Step 5: Shoot the Safety Sensors
Photograph the photoelectric sensors on both posts, from a few feet back. Show us their mounting height and whether they’re pointed at each other. If you’ve had sensor issues, video the gate opening and closing from a position where you can see the sensor lights. The light status (steady green, blinking red, off) is a diagnostic goldmine.
Step 6: Record a Full Cycle With Sound
Stand 10 feet back and video the gate going through one complete open and close cycle. Keep the audio on. The sound of the opener, the hinges, and any strain or grinding tells us more than a photo ever will. Send us the video along with the photos.
This documentation package lets a technician diagnose many problems remotely and give you an accurate estimate before they ever roll a truck. It also gives you a baseline record: if the gate gets worse, you have “before” documentation that shows when the symptom started and how it progressed. In a city the size of Los Angeles, where a service call might involve a 30-minute drive just to look at the gate, this level of pre-call documentation is the difference between a one-visit repair and a two-visit repair. For more guides & resources on gate maintenance and troubleshooting, visit our blog.
Common Mistakes to Avoid
- Lubricating a failing hinge and calling it fixed. Lubricant masks the symptom of a worn hinge without repairing it. The wear is still there. A hinge that’s worn enough to squeak after lubrication is worn enough to replace. The fix costs less than the gate damage a dropped leaf causes.
- Disconnecting safety sensors to stop a reversing problem. Disabling a safety system to avoid an intermittent reversal turns a repairable sensor issue into a genuinely dangerous gate. The problem was never the sensor doing its job; it was the alignment or wiring that made the sensor think something was in the path.
- Replacing the opener before checking the mechanical resistance. A bound gate will kill a new opener within a year or two. A technician who replaces the opener without checking why the old one died isn’t fixing the problem, just postponing it.
- Assuming a slow gate is normal for an old gate. A gate that’s slow because it’s old is a gate that’s drawing more amps than it should, and that’s a motor on its way out. “Slow for its age” isn’t a diagnosis, it’s an excuse to avoid one.
- Ignoring a gate that sits slightly open because it “still works fine.” Los Angeles gates exist for security. A gate that rests one inch open isn’t securing anything. The slight open position also invites more adjustment issues as the limit switch fights the physical stop.
- DIY wiring fixes on a 120-volt opener circuit. Gate openers run on line voltage. That’s the same voltage as your wall outlets. Working on the wiring without killing the correct breaker is a genuine shock hazard. If you’re not certain which breaker controls the gate circuit, don’t touch the wiring.
- Not documenting the symptom before it changes. Intermittent gate problems are the hardest to diagnose because the technician arrives when the gate is behaving. Photo and video documentation from the moment you notice a problem gives the tech something to work with even when the gate decides to behave during the service window.
When to Call a Professional
Call a professional the same day you notice any Tier 3 sign: no safety reverse, dropped gate leaf, exposed wires, sparks or burning smells, or a post visibly out of plumb. Call within the week for any Tier 2 sign that has persisted for more than a few days: hesitation, grinding, slow operation, or a gate that doesn’t quite close. And call if you’ve done the documentation steps and you’re still not sure what you’re looking at. A good gate technician will read your photos and tell you honestly whether it’s urgent, routine, or something you can monitor. Electric Gate Repair in Los Angeles doesn’t have to start with a truck roll. Calder Gate Repair Los Angeles offers free estimates in Los Angeles, and a live person answers your call 24/7 at (213) 322-1415. Send us your photos. We’ll tell you what you’re dealing with and what it costs before anyone touches a tool.
Frequently Asked Questions
Most gate repairs in Los Angeles run between $180 and $650 depending on the problem. A hinge replacement is $125 to $250 per hinge. A capacitor replacement is $90 to $180. A new control board is $300 to $700 installed depending on the brand. A full opener replacement runs $800 to $1,800 including the unit and installation. Call (213) 322-1415 for a written quote on your specific gate, free of charge.
For Tier 3 safety and security issues like a gate that won’t close or a gate that won’t reverse, same-day service is typically available and we treat those calls as priorities. For routine repairs and maintenance, we schedule as soon as the next day in most areas. Call (213) 322-1415 and a live person will tell you the soonest available window for your neighborhood.
The 365-Day Done Right Promise means that if a repair fails within 365 days of the service date, Calder Gate Repair returns at no charge to make it right. Every repair includes a written guarantee, and a free second visit is included automatically, never as an optional add-on. That’s part of the Relay Home Co. standard, in place since 2009.
Place a firm object like a traffic cone or trash can in the gate’s path while it’s closing. The gate should reverse within two seconds of contact. If it keeps pushing, or if it stops and holds pressure against the object, the safety reverse system has failed and the gate should not be used until a technician repairs it. This is a free 30-second test any homeowner can do.
Heat-related intermittent failures are usually caused by degrading electronic components. Capacitors on control boards lose their ability to hold charge as temperatures rise, and solder joints expand and lose contact. This pattern is common in Los Angeles neighborhoods like the San Fernando Valley where afternoon temperatures routinely exceed 90°F. It’s a repairable issue; the key is documenting the heat correlation and sharing it with your technician.
For most gate repairs (hinges, opener replacement, control boards, wheels, safety sensors), no permit is required. Structural work that involves moving posts, re-pouring concrete pads, or changing the gate’s footprint may fall under local building department requirements depending on your specific city within Los Angeles County. A knowledgeable local technician can tell you what applies to your situation before any work is scheduled.
The Bottom Line
Your gate talks. Most Los Angeles homeowners just haven’t learned the dialect yet. A hesitation before moving is a capacitor. A grind is a gear. A gate that doesn’t reverse is a hazard. A gate that sits slightly open is a security gap. Environmental factors like marine-layer humidity and expansive clay soil create symptoms that look mechanical but have environmental roots, and knowing the difference saves money. Document what you see before you call, be specific about when the problem happens, and ask for a written price before work starts. Every reputable gate company in Los Angeles should provide one. Ours is guaranteed.
Written by Nico Alvarez, Owner at Calder Gate Repair Los Angeles, serving Los Angeles since 2009.
See the difference
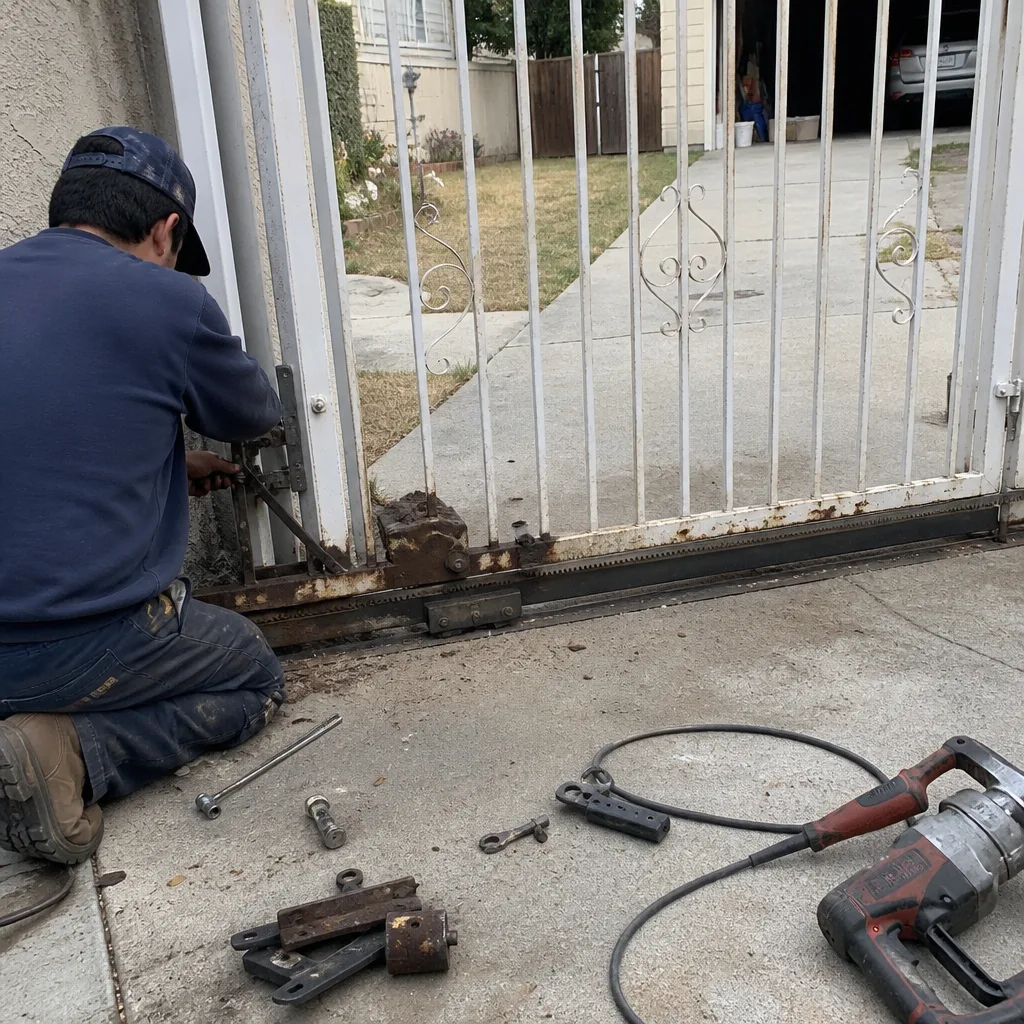 Before
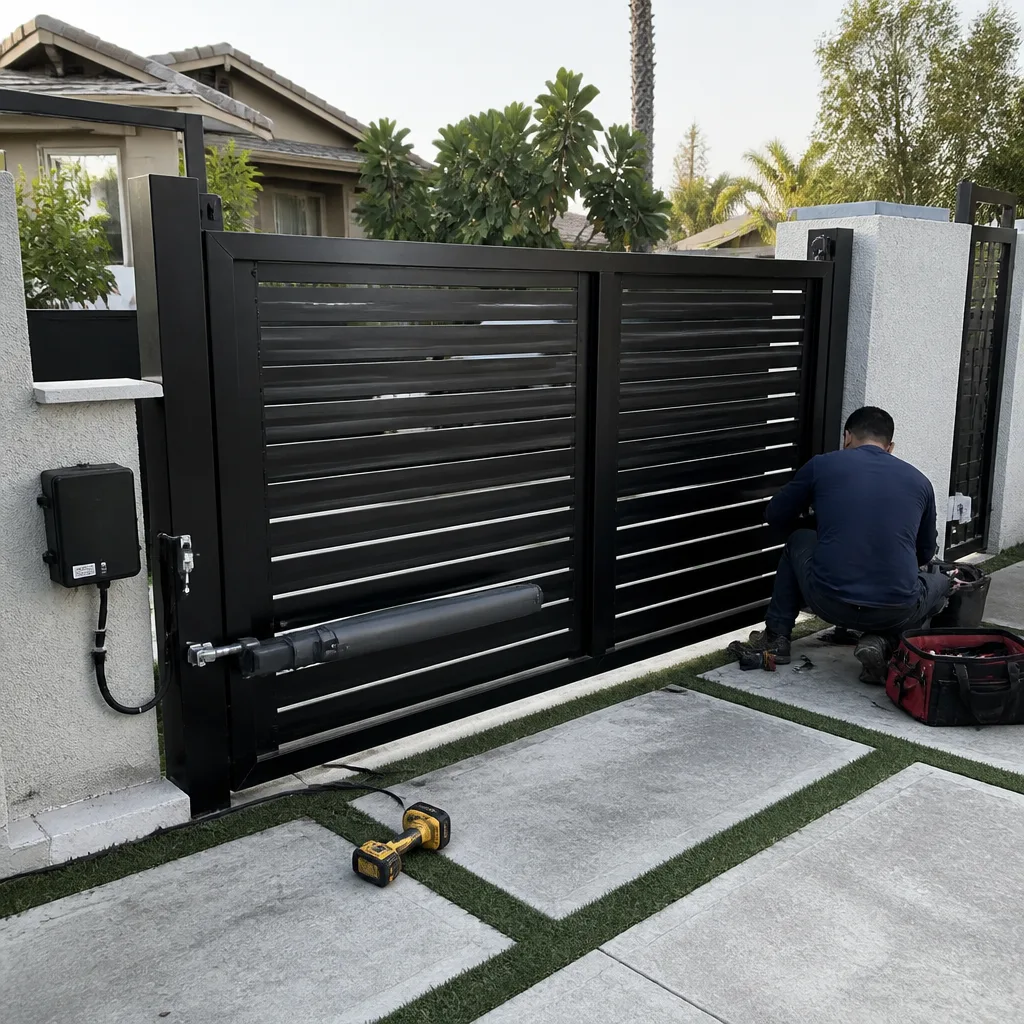 After
After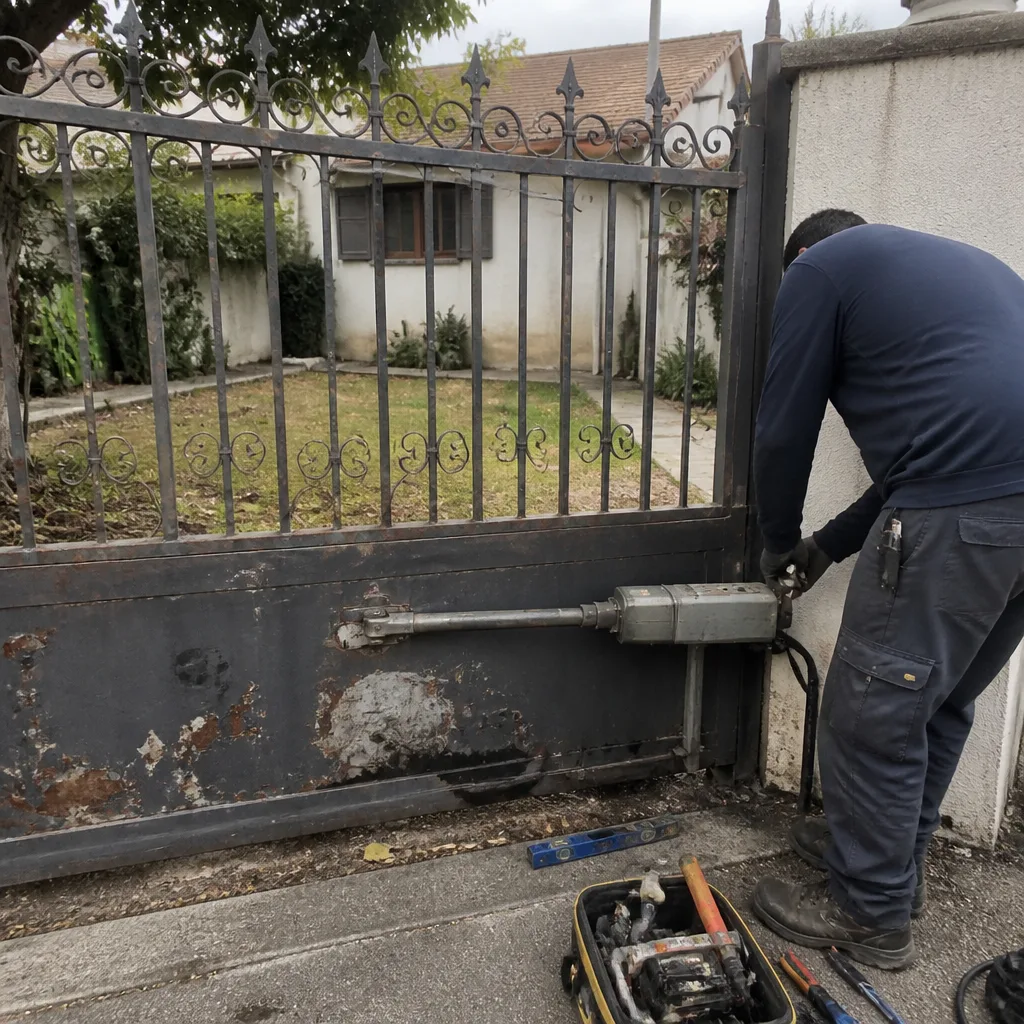 Before
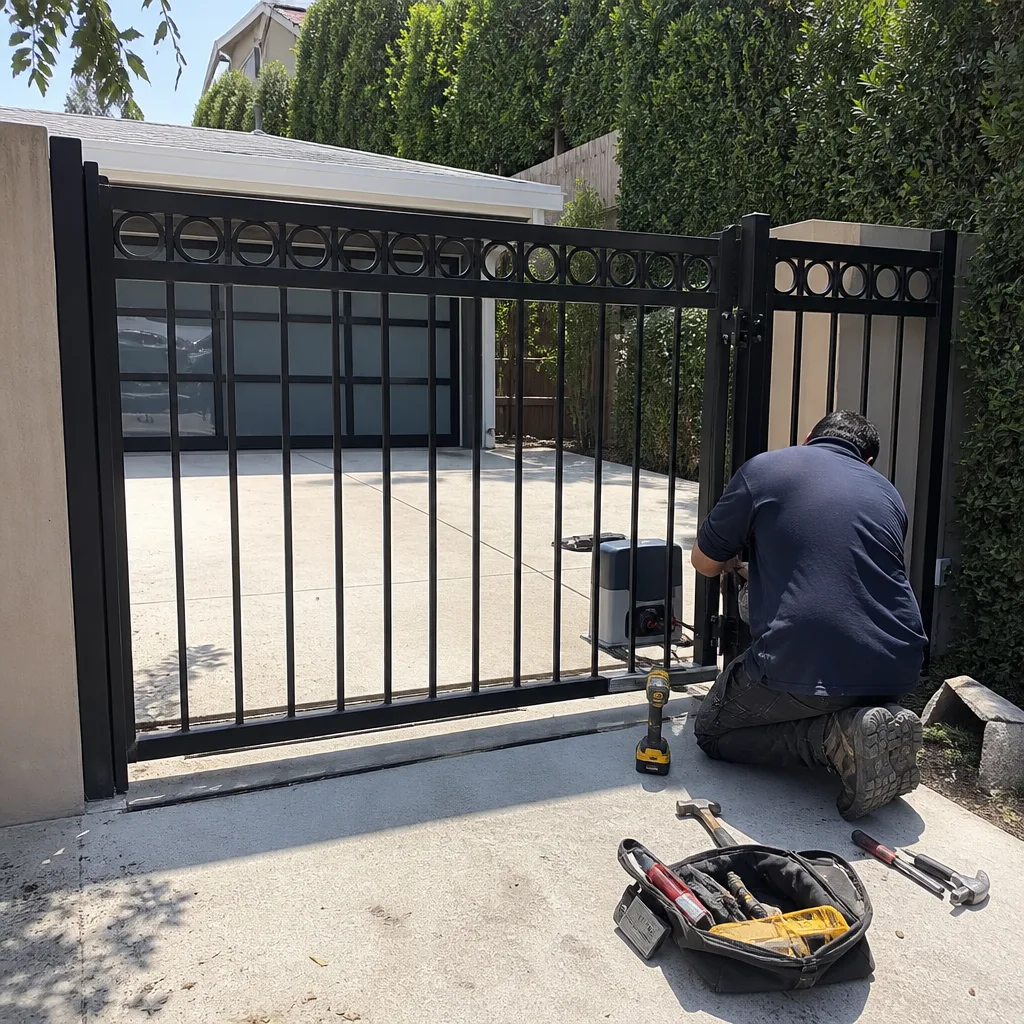 After
After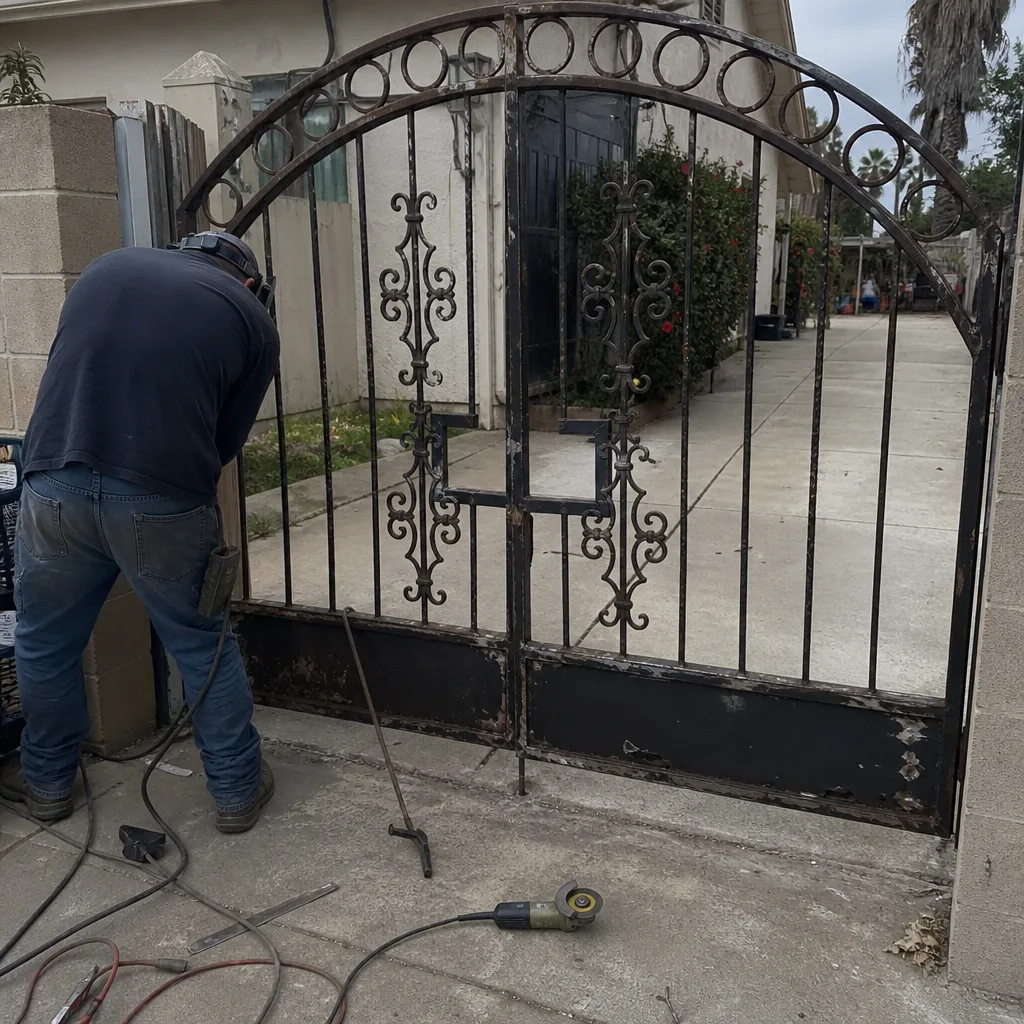 Before
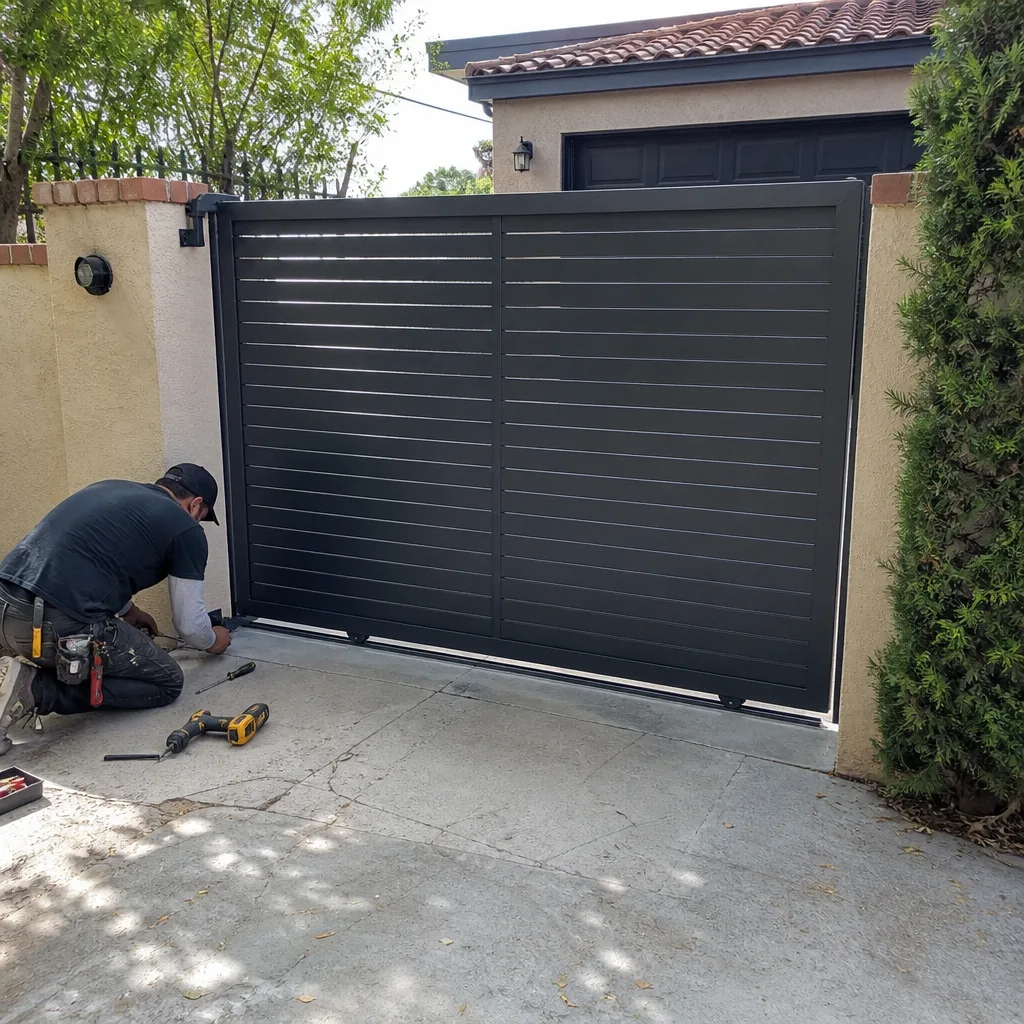 After
After